Black Friday in JulyEnds Sunday. Limited quantities. No rainchecks.Shop now

Skip to content
Main Content
No content

Home Solar Panel Cleaning Tips & Checklist
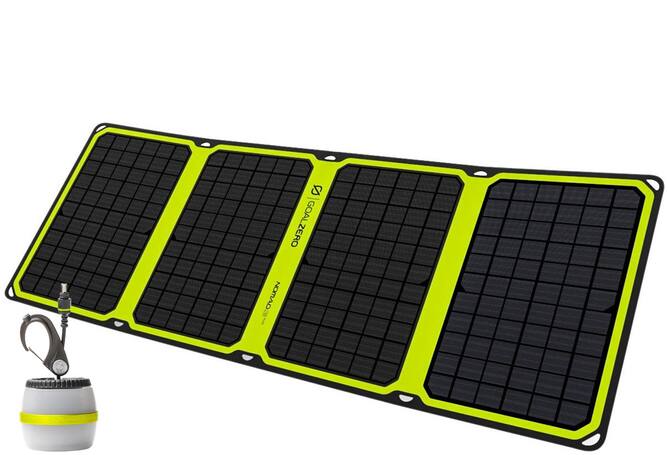
Solar panel, lantern

Why cleaning your home solar panels matters

If you have ever asked, “Does cleaning your solar panels make a difference?” The answer is yes. This one action improves efficiency by as much as 21% in residential buildings and 60% in commercial solar system setups. This is because thorough cleaning allows more sunlight to reach the solar cells across the entire system. Professionals recommend cleaning your solar panels every six months or more often if you live in an area more prone to air pollution, causing dust and dirt buildup.

Here are some of the other benefits gained with proper solar panel cleaning:

  • Removing particles, such as sand, dust and debris, that can cause excessive wear and tear on solar panels and system components maximizes the life of your solar system
  • Increases the visual appeal of the system and your home
  • Cleaning provides the ability to perform a visual inspection of the various components that make up the solar panel system
  • Certain system warranties require proof of regular cleaning services

How to clean your solar panels

Following proper steps for do-it-yourself solar photovoltaic (PV) system cleaning is necessary to prevent damage to the various components of the system. Taking time to understand the process also prevents you from sustaining injuries or having accidents occur. Following these steps will help with your solar panel cleaning.

1. Gather your cleaning supplies

Cleaning your solar PV system begins with gathering the cleaning supplies and equipment. Most items needed are lying around the home. Create the ideal cleaning solution with a small amount of dish soap and warm water. Mix this solution in a bucket or large container. Apply the cleaning solution with a soft cloth or sponge to avoid scratching the surface of the solar panels. After washing the panels, remove excess water and debris with a squeegee. For areas that have sticky substances or tar-like residue on them, use isopropyl alcohol to remove the film.

2. Create a safe work environment

Solar panels installed on the ground require little to no safety equipment when cleaning them. However, special safety precautions are necessary for any panel system installed on roofs or above the ground. Use a sturdy ladder that expands to the desired height to prevent unnecessary straining and reaching. Wear safety gear, such as a safety harness for climbing, plus a hardhat and goggles, to protect you from potential injuries while performing the cleaning service. If possible, you can also opt for an extension pole for cleaning to prevent the need to climb to unsafe heights.

3. Remove large debris

Removing debris is essential before you clean. This is for your safety and to increase the life of the solar panels themselves. Remove large tree branches and other foreign objects with the use of a roof rake. Clear away dry leaves, small branches, twigs and acorns with the help of a shop vacuum or leaf blower, if available. Inspect the area where you will use a ladder or climbing equipment. Make sure this space is free of items that interfere with the use of your equipment or that are trip and fall hazards.

4. Remove dirt and film

Once you have gathered your cleaning supplies and prepped your workspace, it’s time to clean. Using a soft rag or sponge, apply your cleaning solution directly to the solar panels. Working in a circular motion helps yield the most results for dirt eradication. Removing dirt and water with a squeegee in an up and down pattern is an efficient manner of cleaning your panels because it helps prevent any scratches from occurring on the surface of the panels. Rinse away any remaining cleaning solution and dirt with a garden hose or low-pressure water source.

5. Perform a solar system maintenance inspection

Once you have finished cleaning your solar panels, it is time to perform a solar PV system maintenance inspection. Visually inspect the glass on the solar panels for signs of damage or scratches. Pay special attention to the framework of the solar system to see if any damage or signs of wear is present. Locate the power inverters of your solar system and check their functioning. If you notice damage to the inverters, make sure someone addresses these issues soon. Follow the electrical connections and wires to locate frays or cracks in the insulation. Change out the wires or connectors as needed. Performing an inspection of the input/output of your solar system gives you the confidence of knowing your solar PV system is operating at its prime. If you are not comfortable performing this type of inspection, contact a professional to do it for you.

6. Monitor your solar panels regularly

Monitoring your solar PV system at the point of installation isn’t always possible. This is especially challenging for solar equipment installed on your roof or a platform above the ground. Using outdoor security cameras and monitoring tools can be especially helpful in these situations.

Outdoor surveillance cameras give you the opportunity to detect problems that arise with your solar PV system. Choosing wireless cameras prevents the need for hard wiring the cameras in a viewing area. Most wireless cameras connect directly to computers, smartphones, tablets and other compatible Wi-Fi capable devices.

Conclusion

Performing your own solar panel cleaning services at home is possible with the proper cleaning solutions and equipment and takes just an hour or two to complete. Check out the products available to make solar PV system cleaning and inspections quick and easy to DIY. Regularly cleaning these components will make a difference in the efficient operation of your system and increase the life of the solar equipment.

Checklist

1.     Gather cleaning supplies

  • Cleaning solution
  • Soft cloth or sponge
  • Squeegee
  • Isopropyl alcohol

2.     Gather equipment

  • Ladder
  • Safety gear
  • Extension pole
  • Roof rake
  • Shop vac
  • Garden hose

3.     Remove large debris

4.     Remove dirt and film

5.     Inspect the system for damage

6.     Clean your panels