A:AnswerI removed all the tape inside and then diluted some vinegar and warm water and rinsed it throughout the unit. It absolutely worked for my 2 units. Zero chemical or plastic taste.
A:AnswerClean the ice maker every three days with diluted detergent, warm water, and a soft cloth, then rinse with clear water.
Do not use bleach or vinegar to clean the internal components.
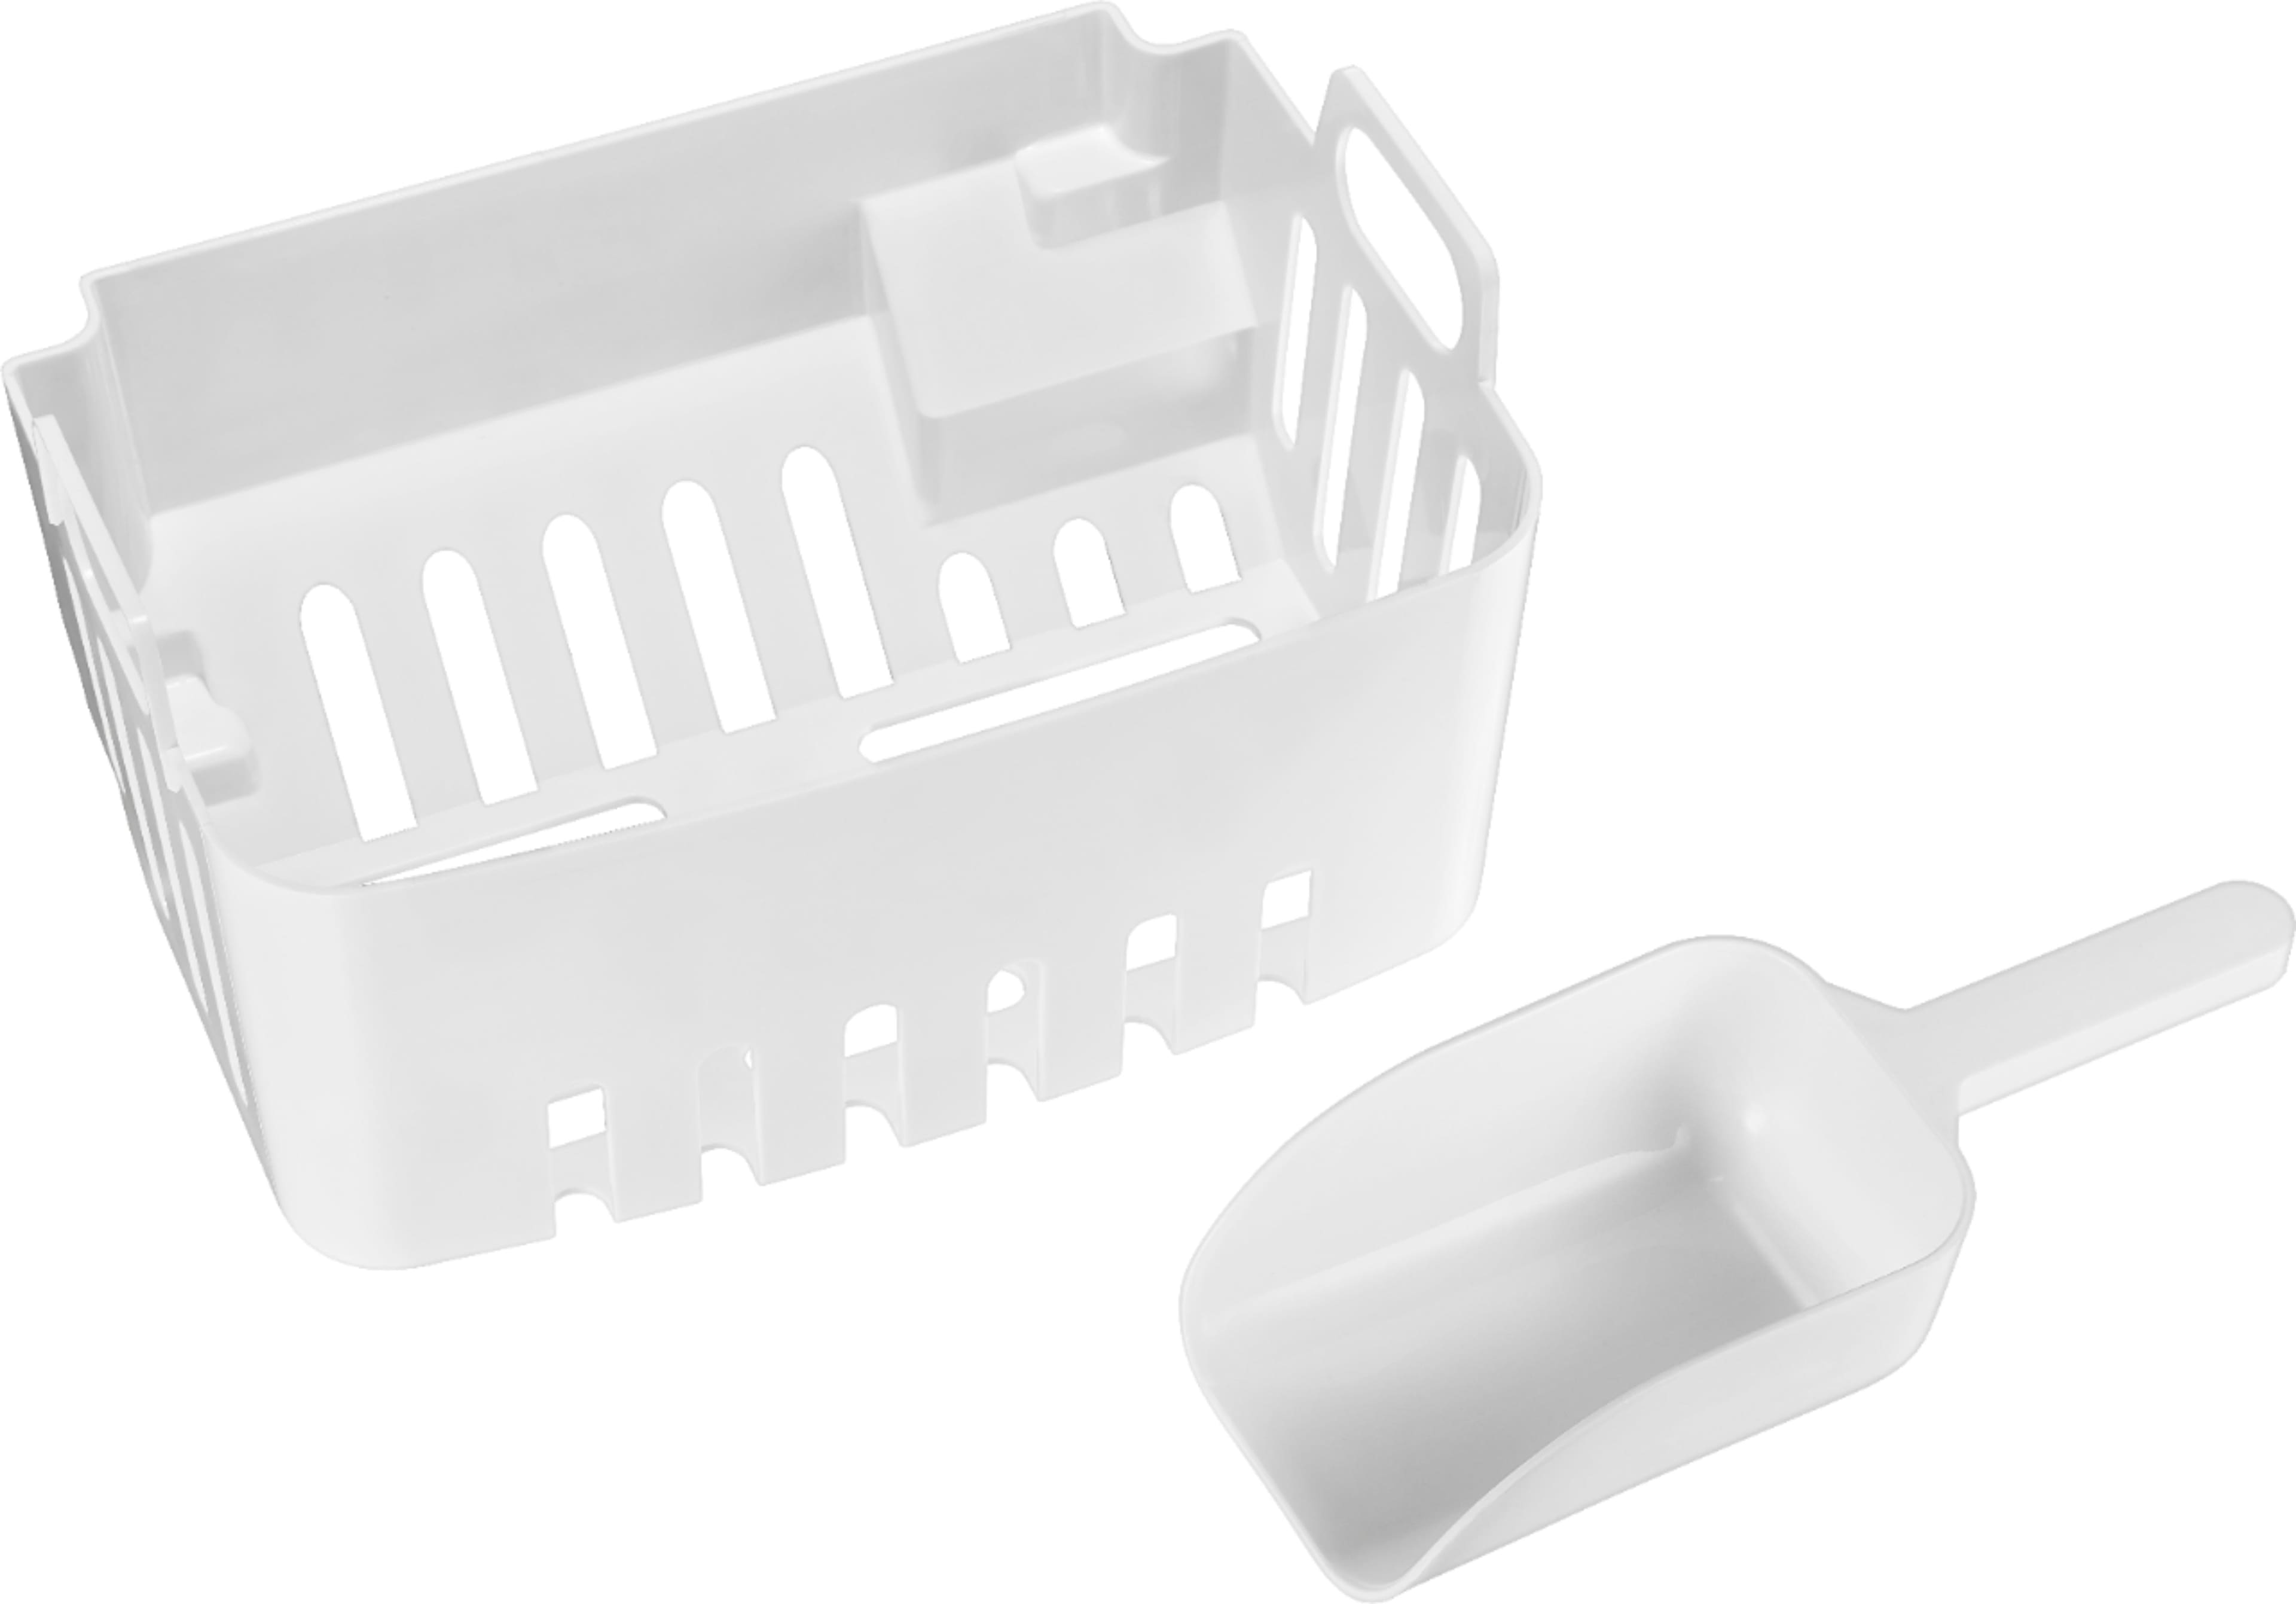
A:AnswerYou can probably repair the basket using either epoxy putty sold at most hardware stores. Just take a small amount of the putty and (wearing rubber surgical gloves) mix it well. Wet the putty a bit while mixing to soften it; but small amount of water only. Mold it around the area to be repaired and let it set up. Another option is types of glue that use UV light to cure. This is only good for joining two parts. With the putty you can actually rebuild missing sections.
A:AnswerUse filtered water from store bought gallons. Distilled water is good because it has no sediments. If you have mold build up, try keeping your ice machine in a darker cooler area.
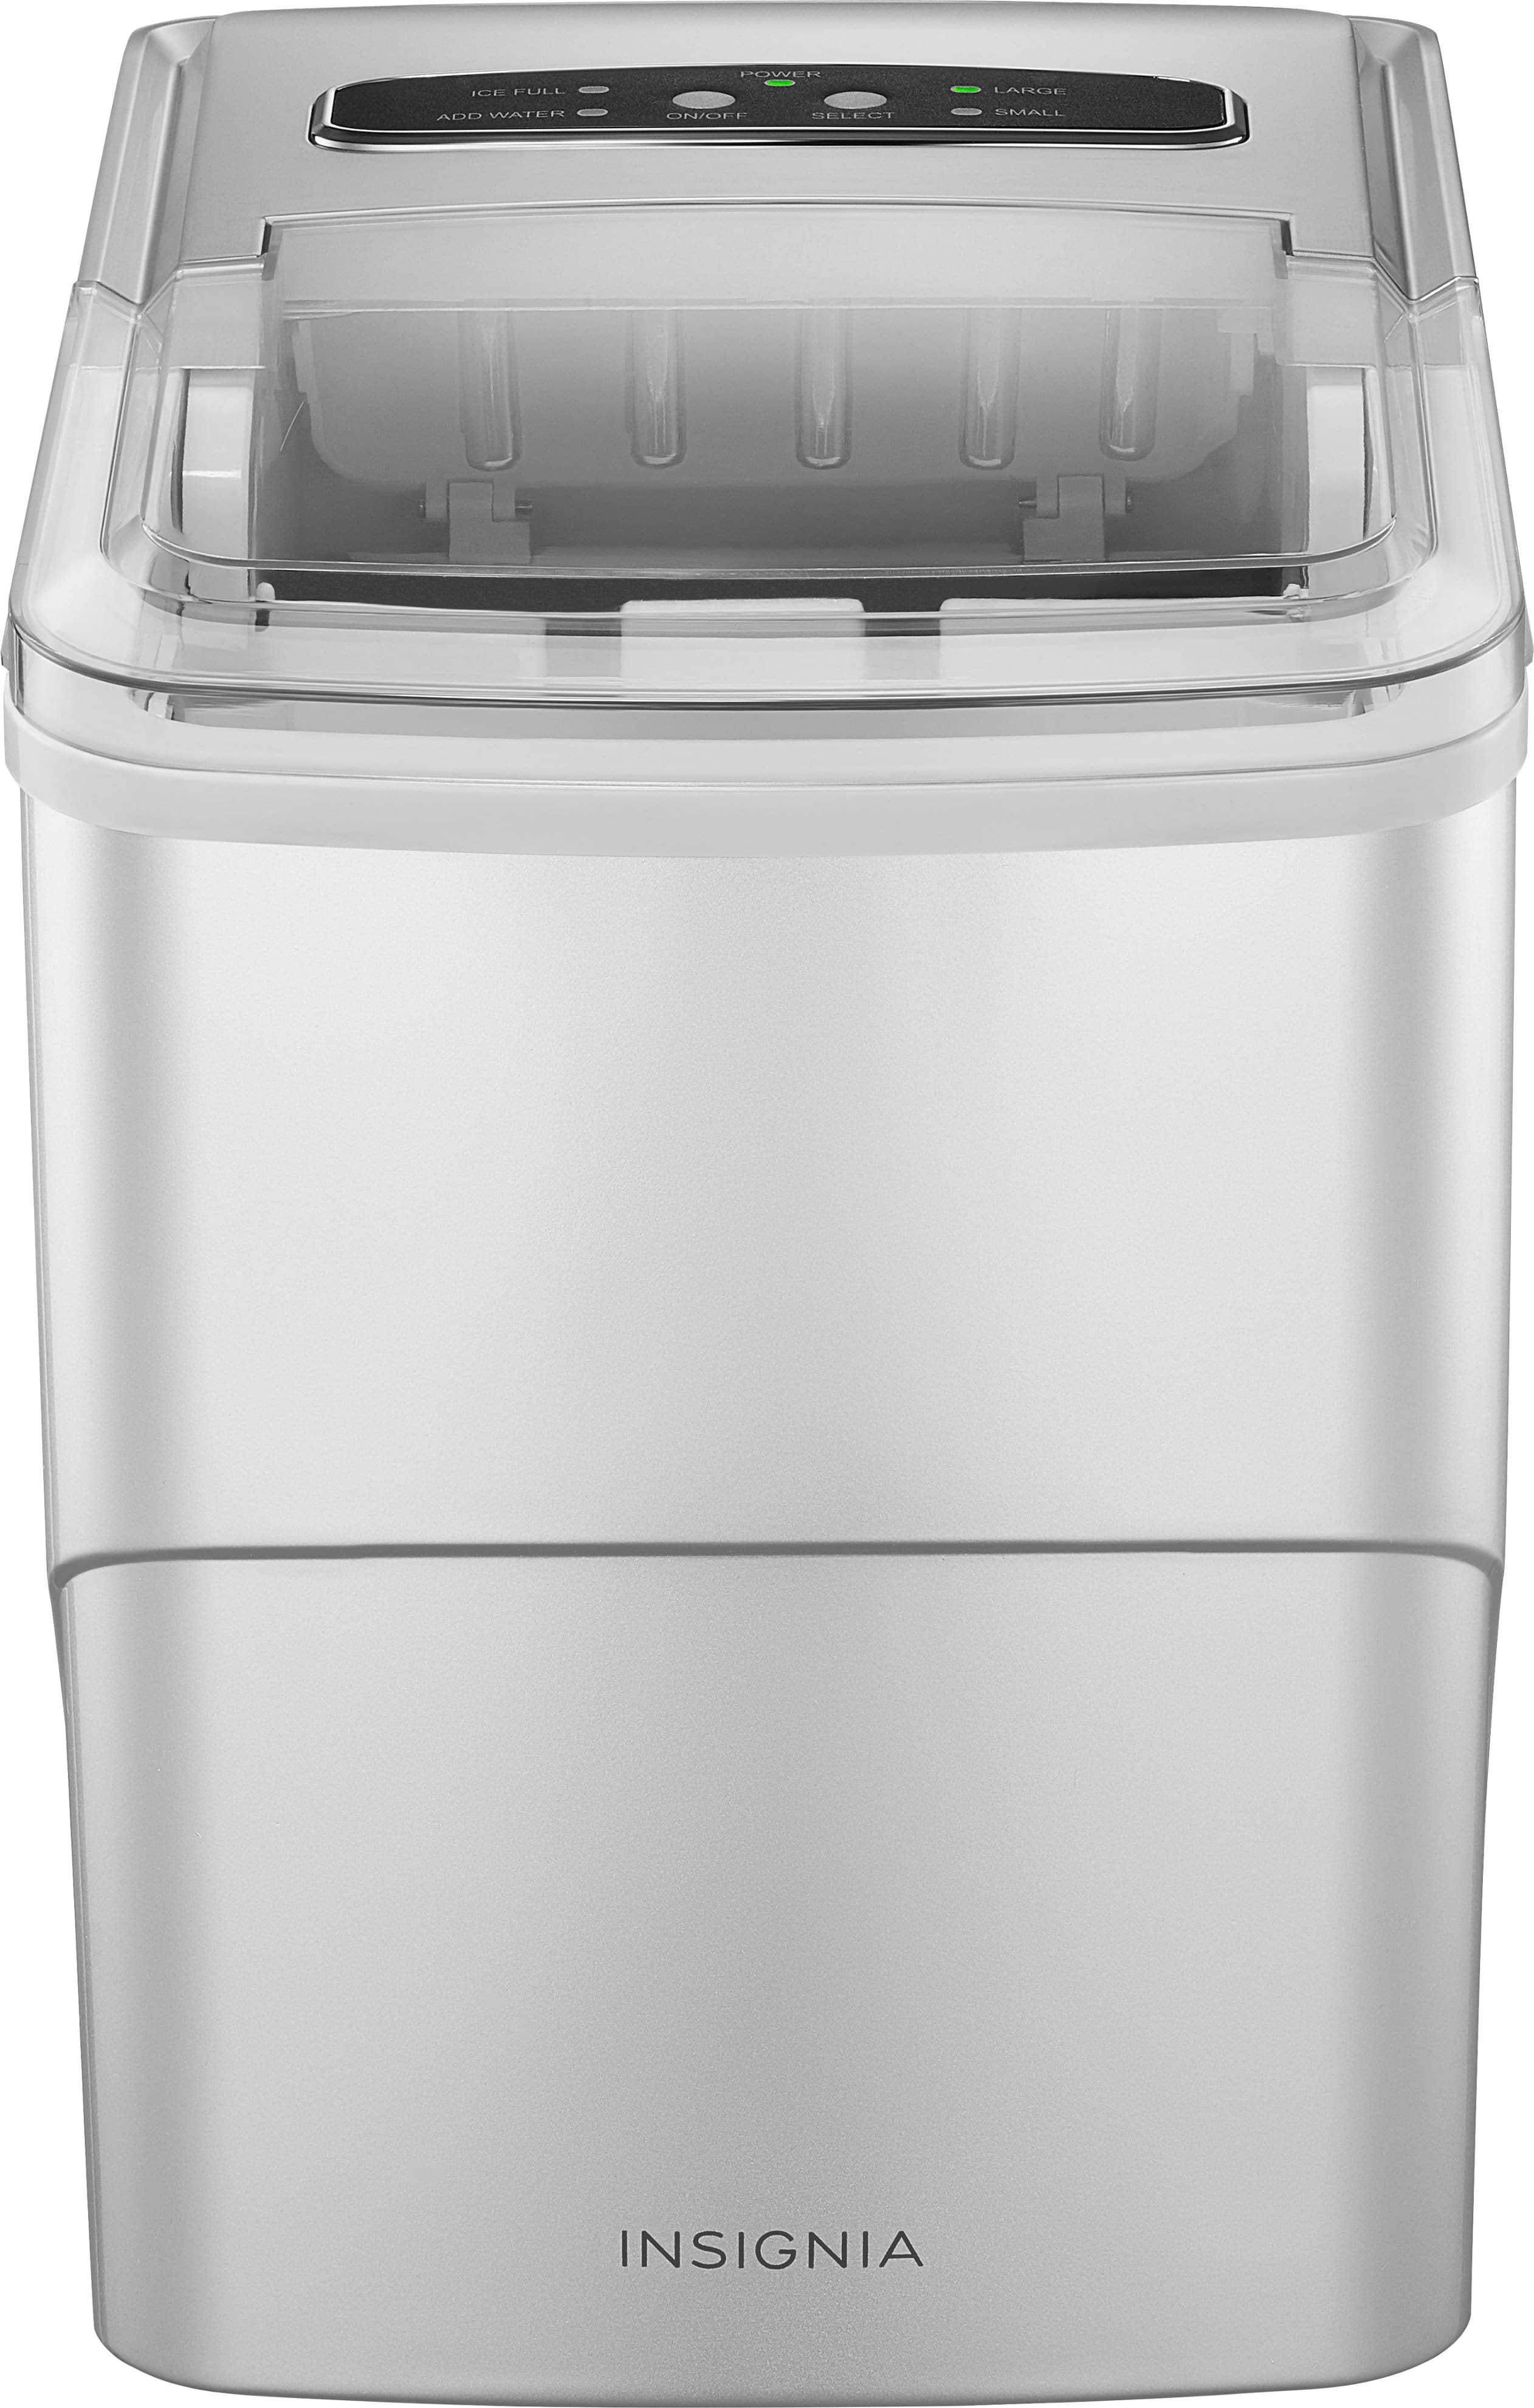
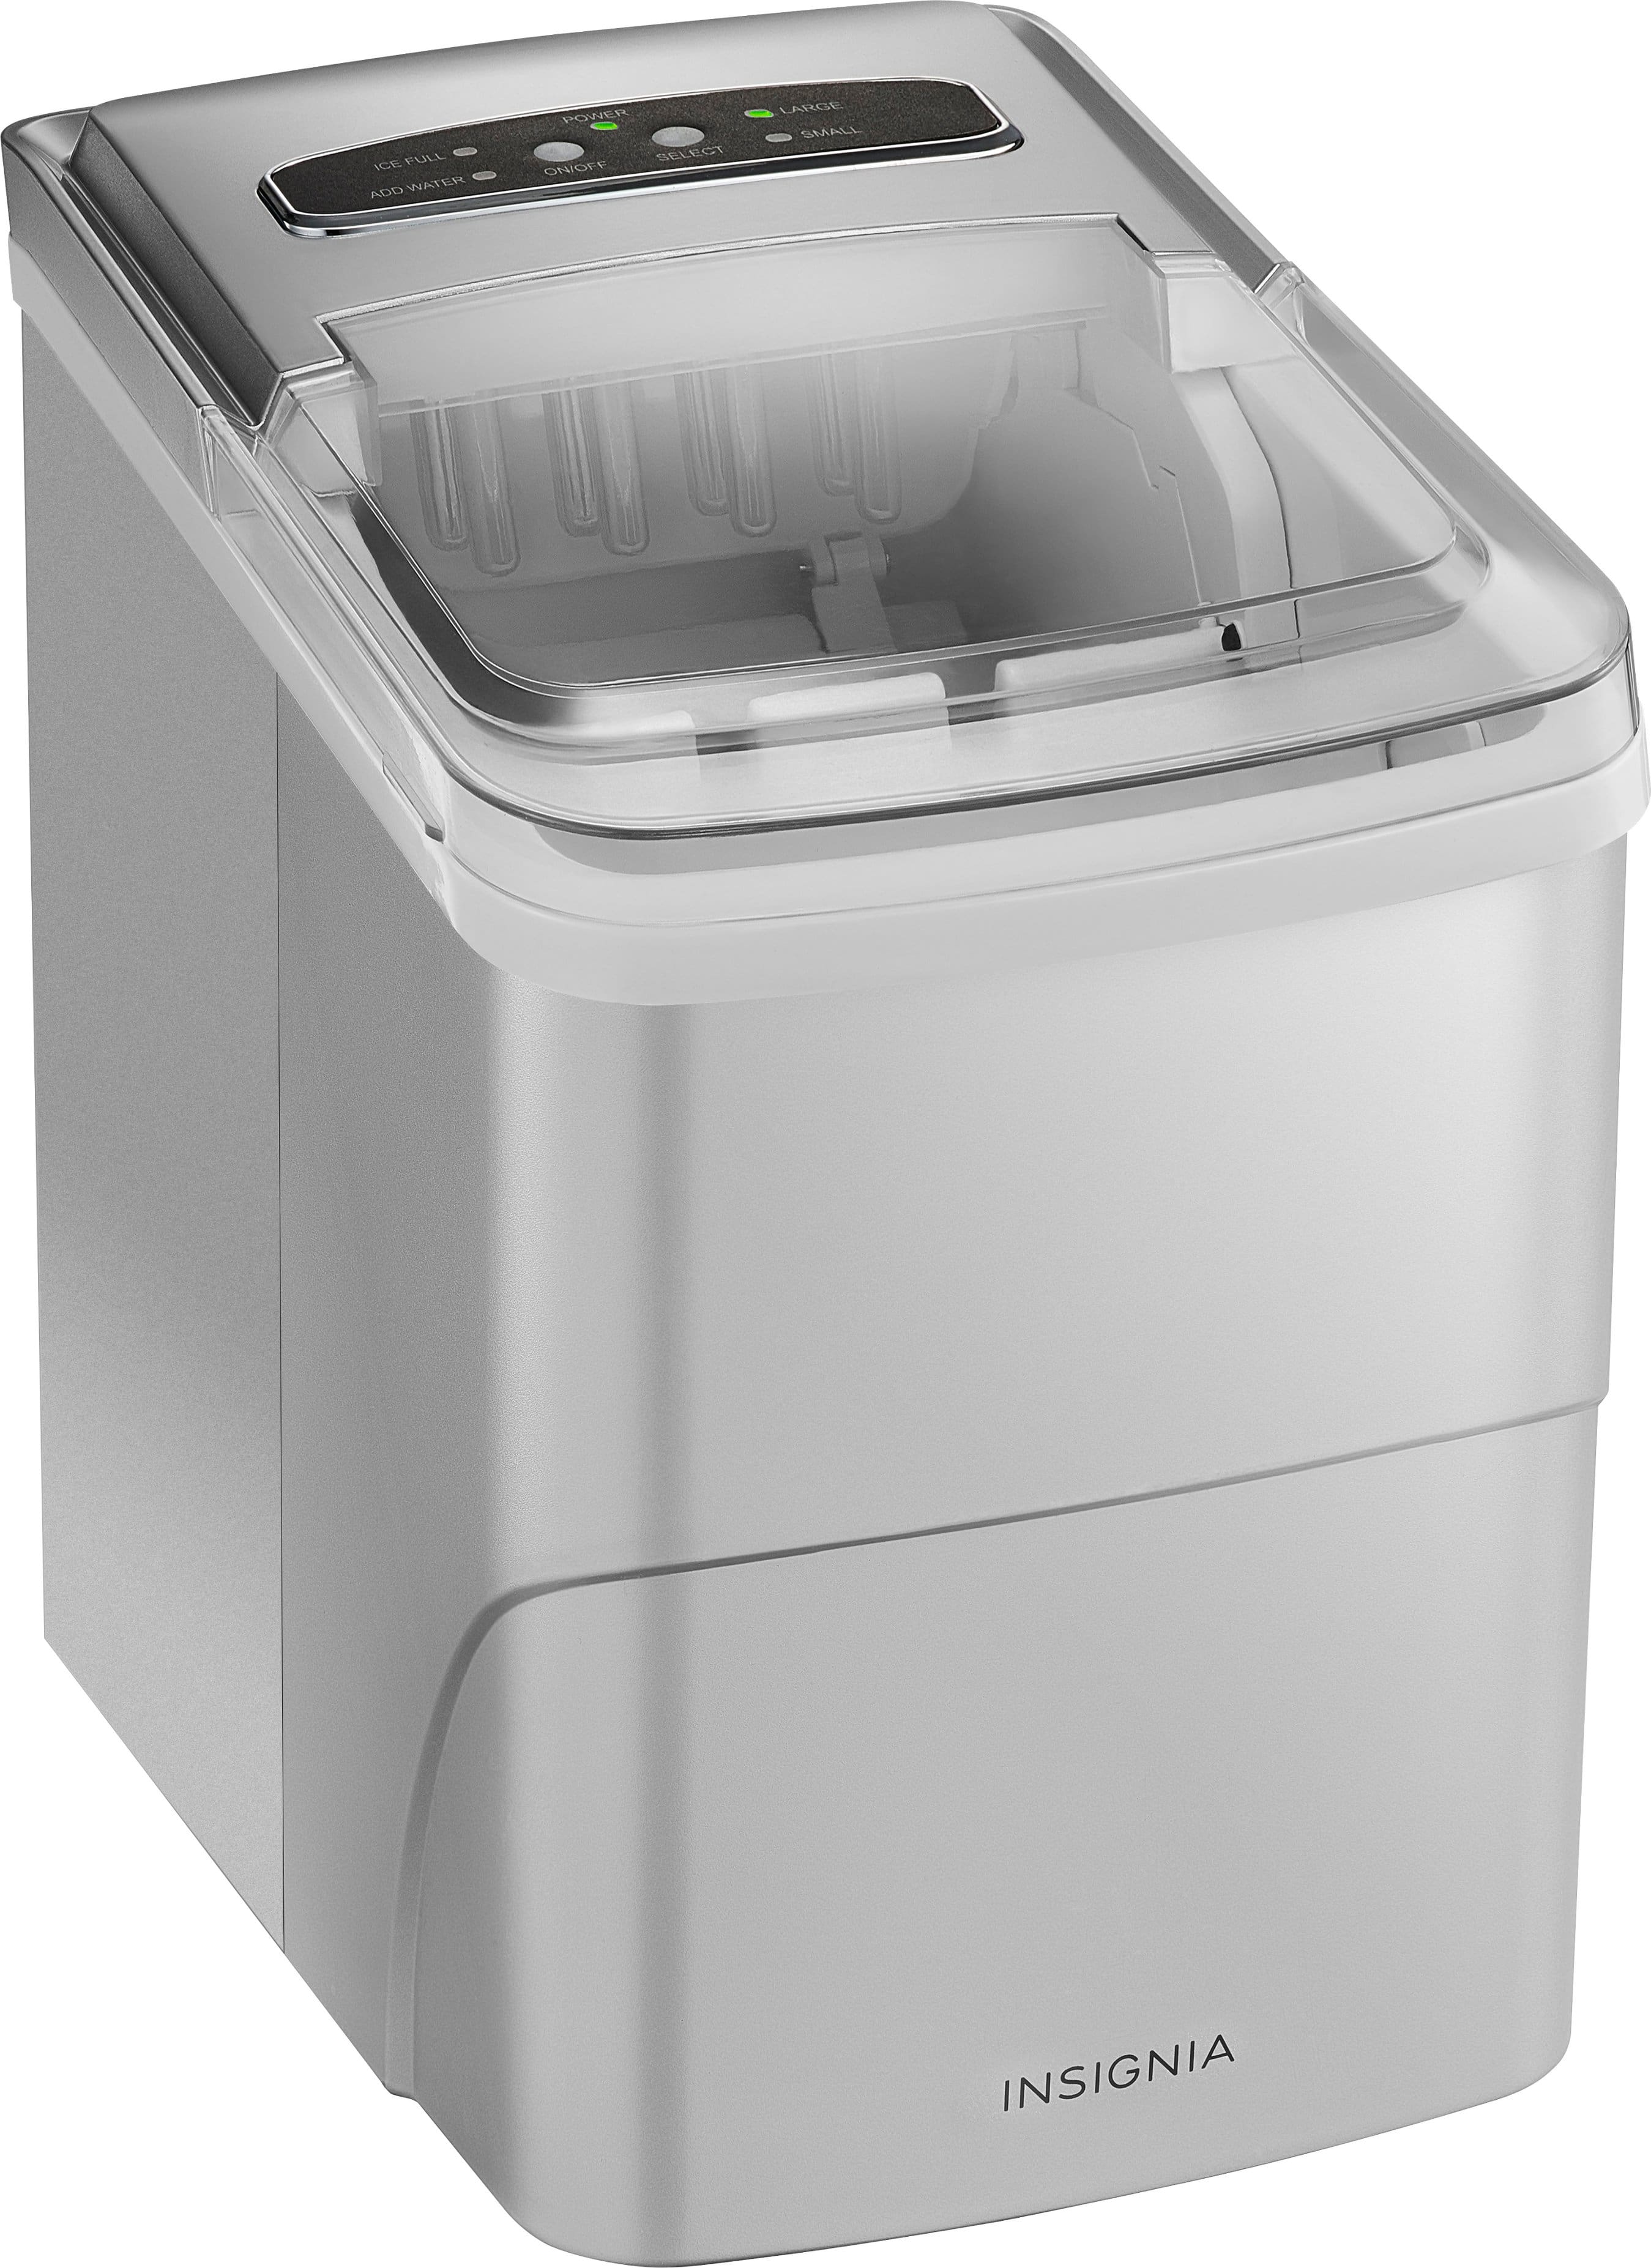
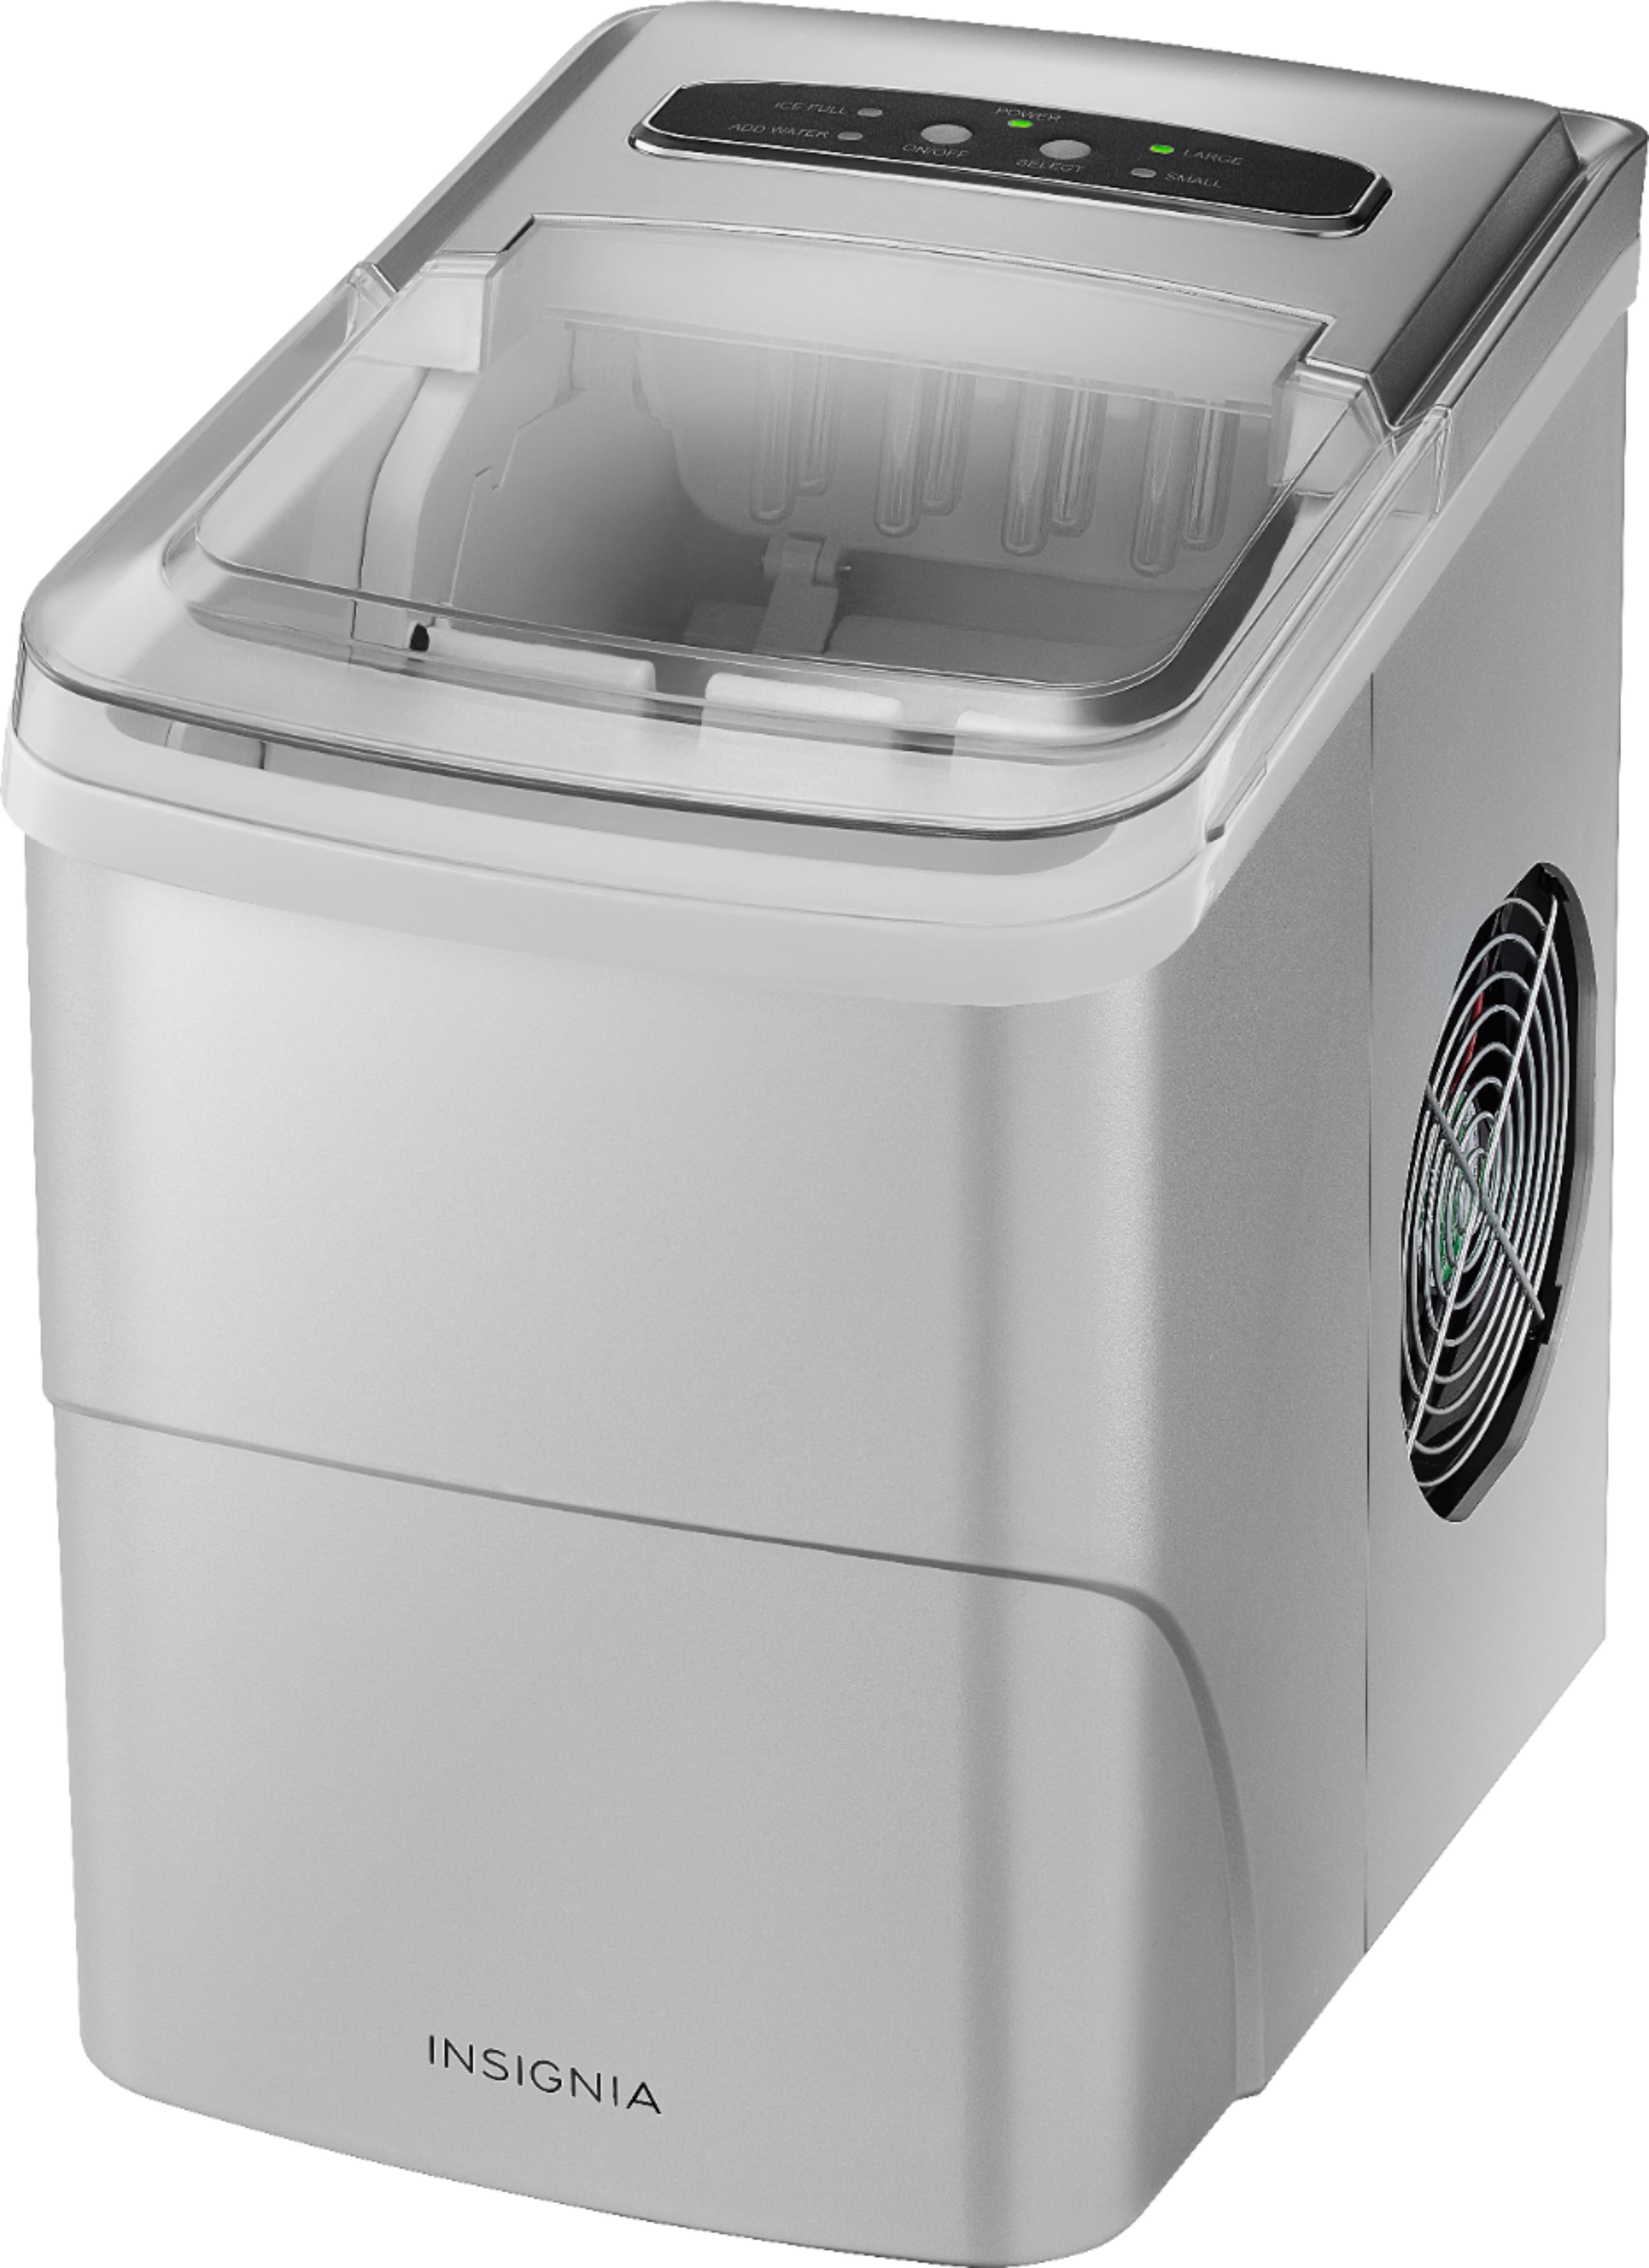
A:AnswerI plugged mine in. Filled the reservoir to the fill line with bottled water. Pushed the on/off button, selected large ice size and waited for the ice to fall into the basket. When it's made enough ice for us, I turn it off and unplug it. Pretty simple and easy to use IMO. Good luck :D
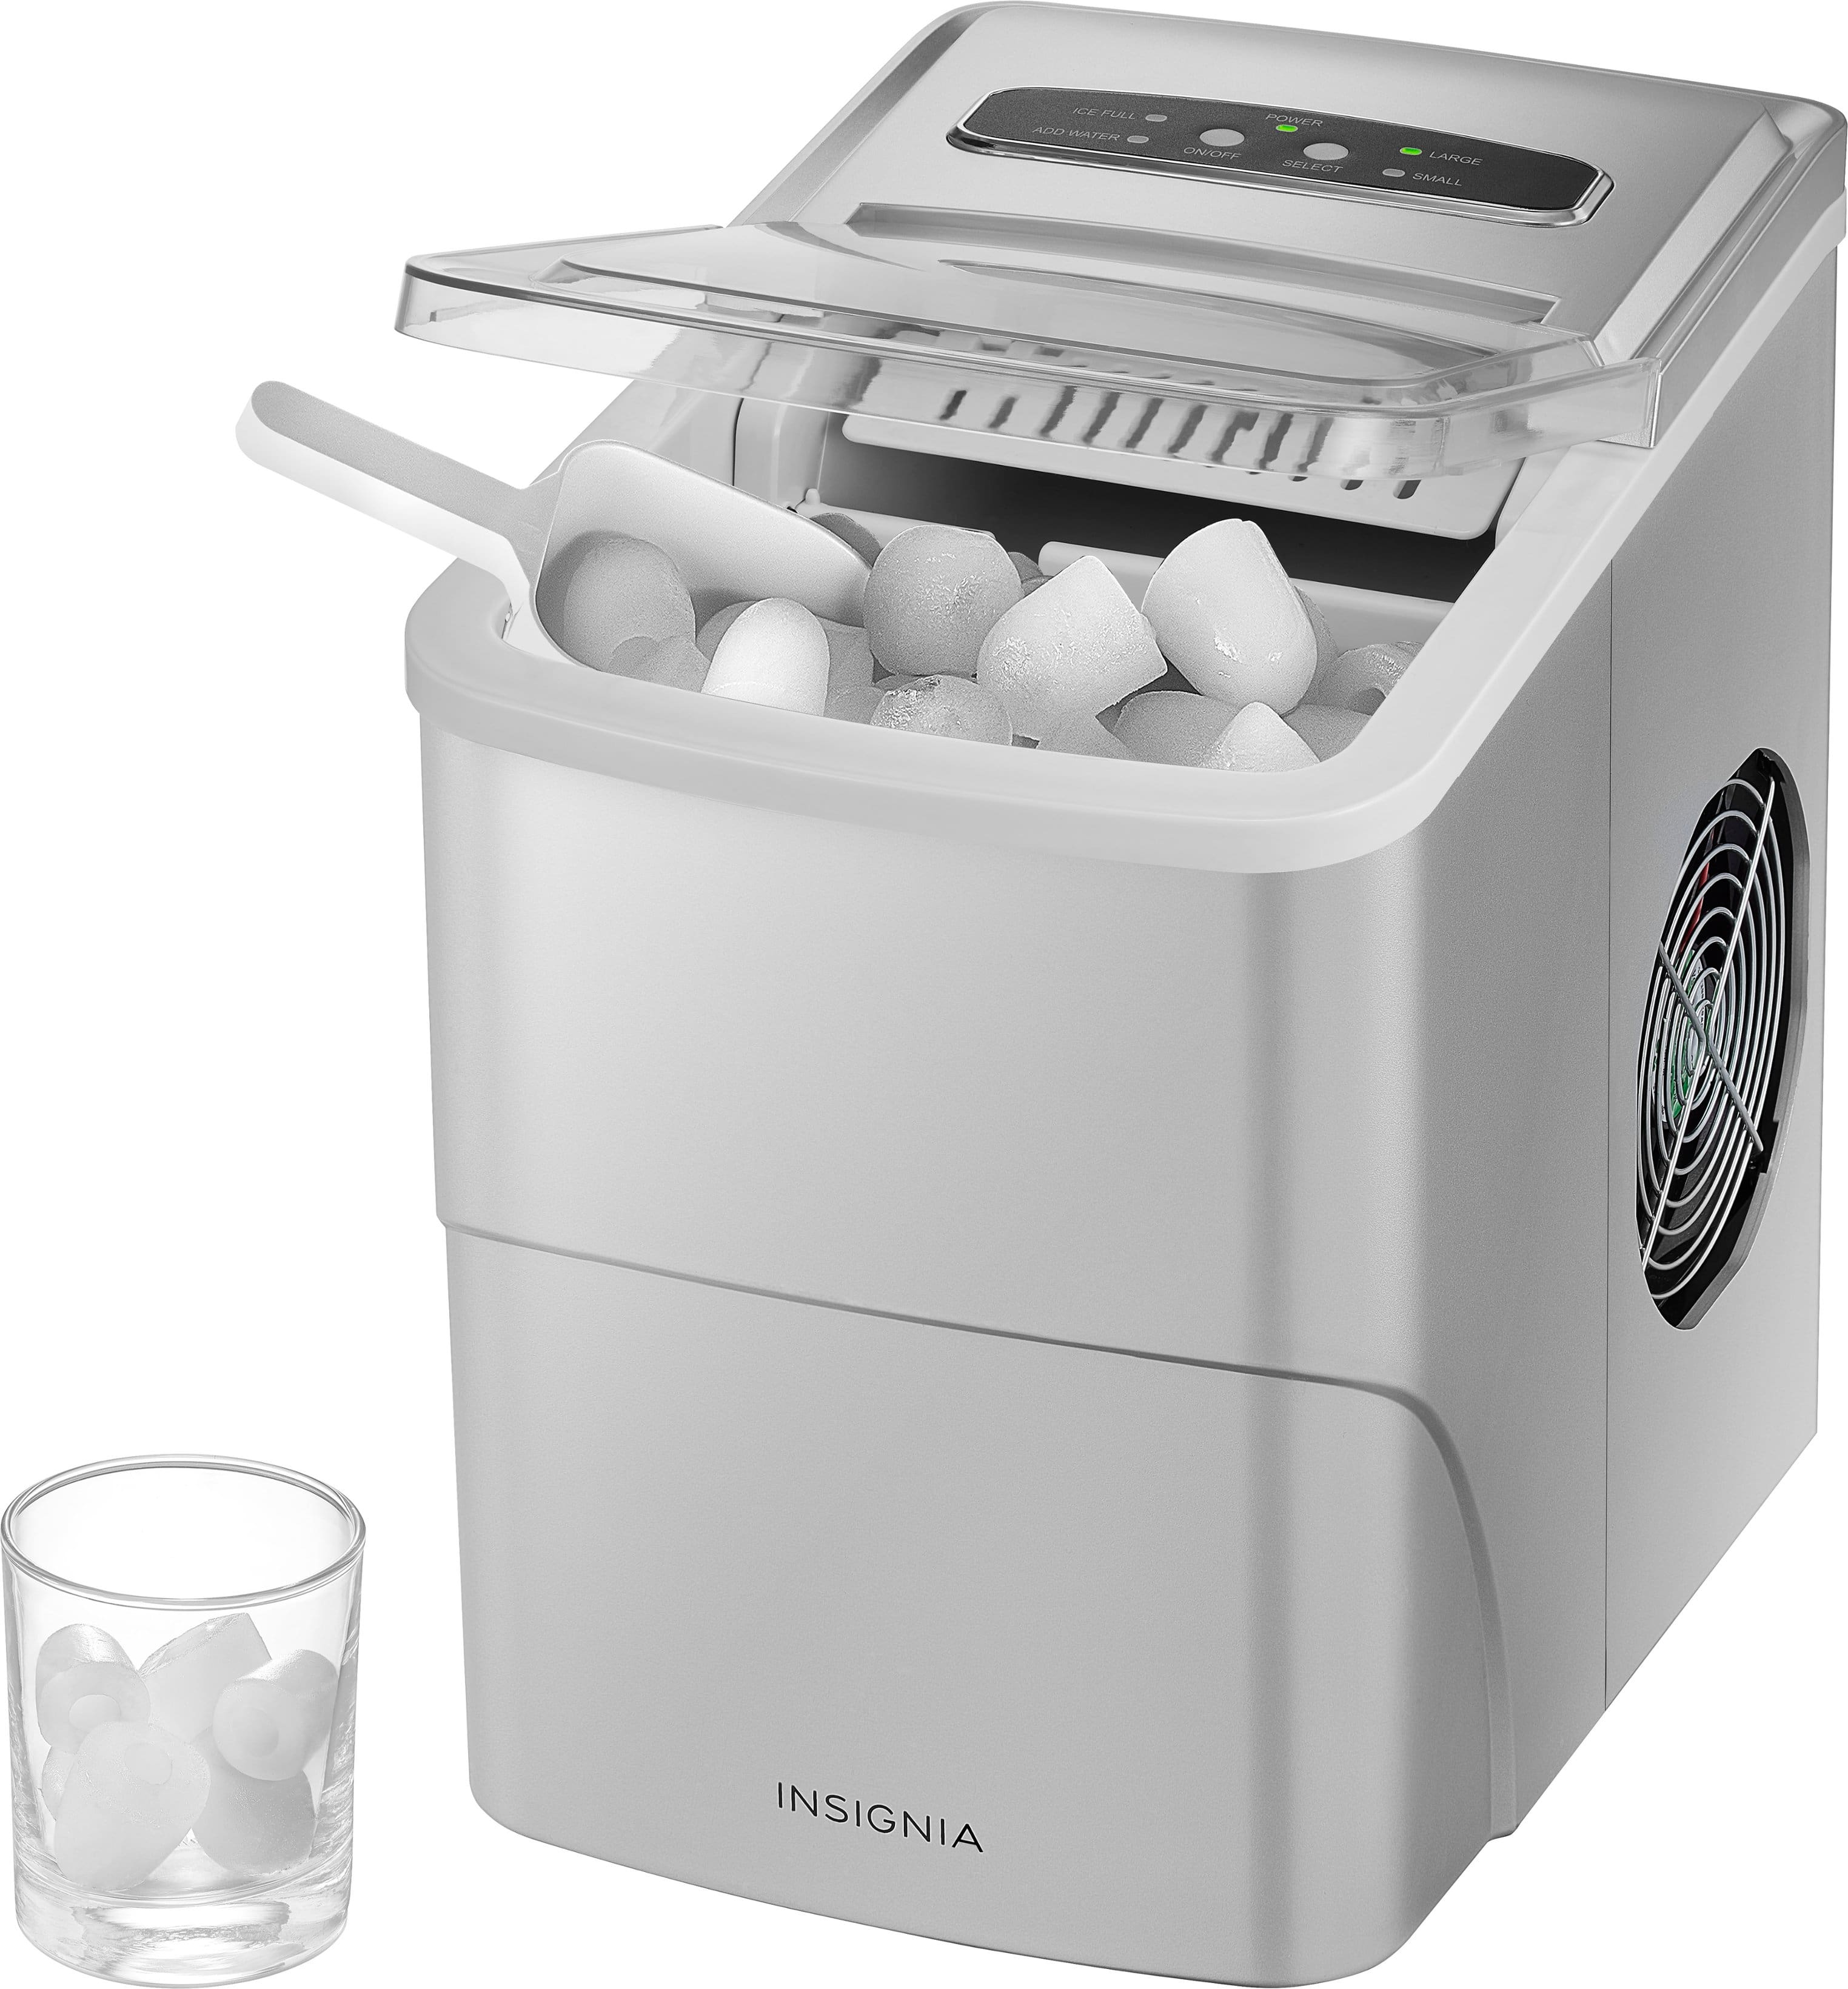
A:AnswerYou can fill the reservoir with soapy warm water and wipe down the inside and then drain it drom the plug on the bottom of the machine. You can also pop out the filter screen at the bottom and clean out that area, hope this helps
A:AnswerTake a paper towel or thin wash cloth and wrap it around the non eating end of a fork. Gently and patiently run the towel inbetween the metal dowels (where the ice forms) make sure to get the very back wall. You can use isopropyl alcohol to help the cleaning. DO NOT USE ALOT. A FEW GOOD DABS ON YOUR TOWEL WILL BE FINE. let ice machine air out after you clean it.