A:AnswerHello! We are terribly sorry to hear about your concern. We would recommend contacting Whirlpool® at 800-253-1301. We are available M -F 8 am to 6 pm est. They will be better able to assist you.
A:AnswerHello Joseph, the clock display can be used as a kitchen timer. Please see the Owners Manual on how to activate the timer. We hope this info helps.
A:AnswerHi Rick, we would recommend having the electrician come back out and to have them look for the "Electrical Requirements" in the Installation Manual as it could be a problem with the amount of power going to the Microwave. You view the Installation Manual at https://bit.ly/3zVhZP8
A:AnswerHi Cindylou. Here is the link to the "installation guide" for this model: https://bit.ly/2SK3UlF You will find the dimension guide on page 4 with diagrams for the space requirements. We hope this helps!
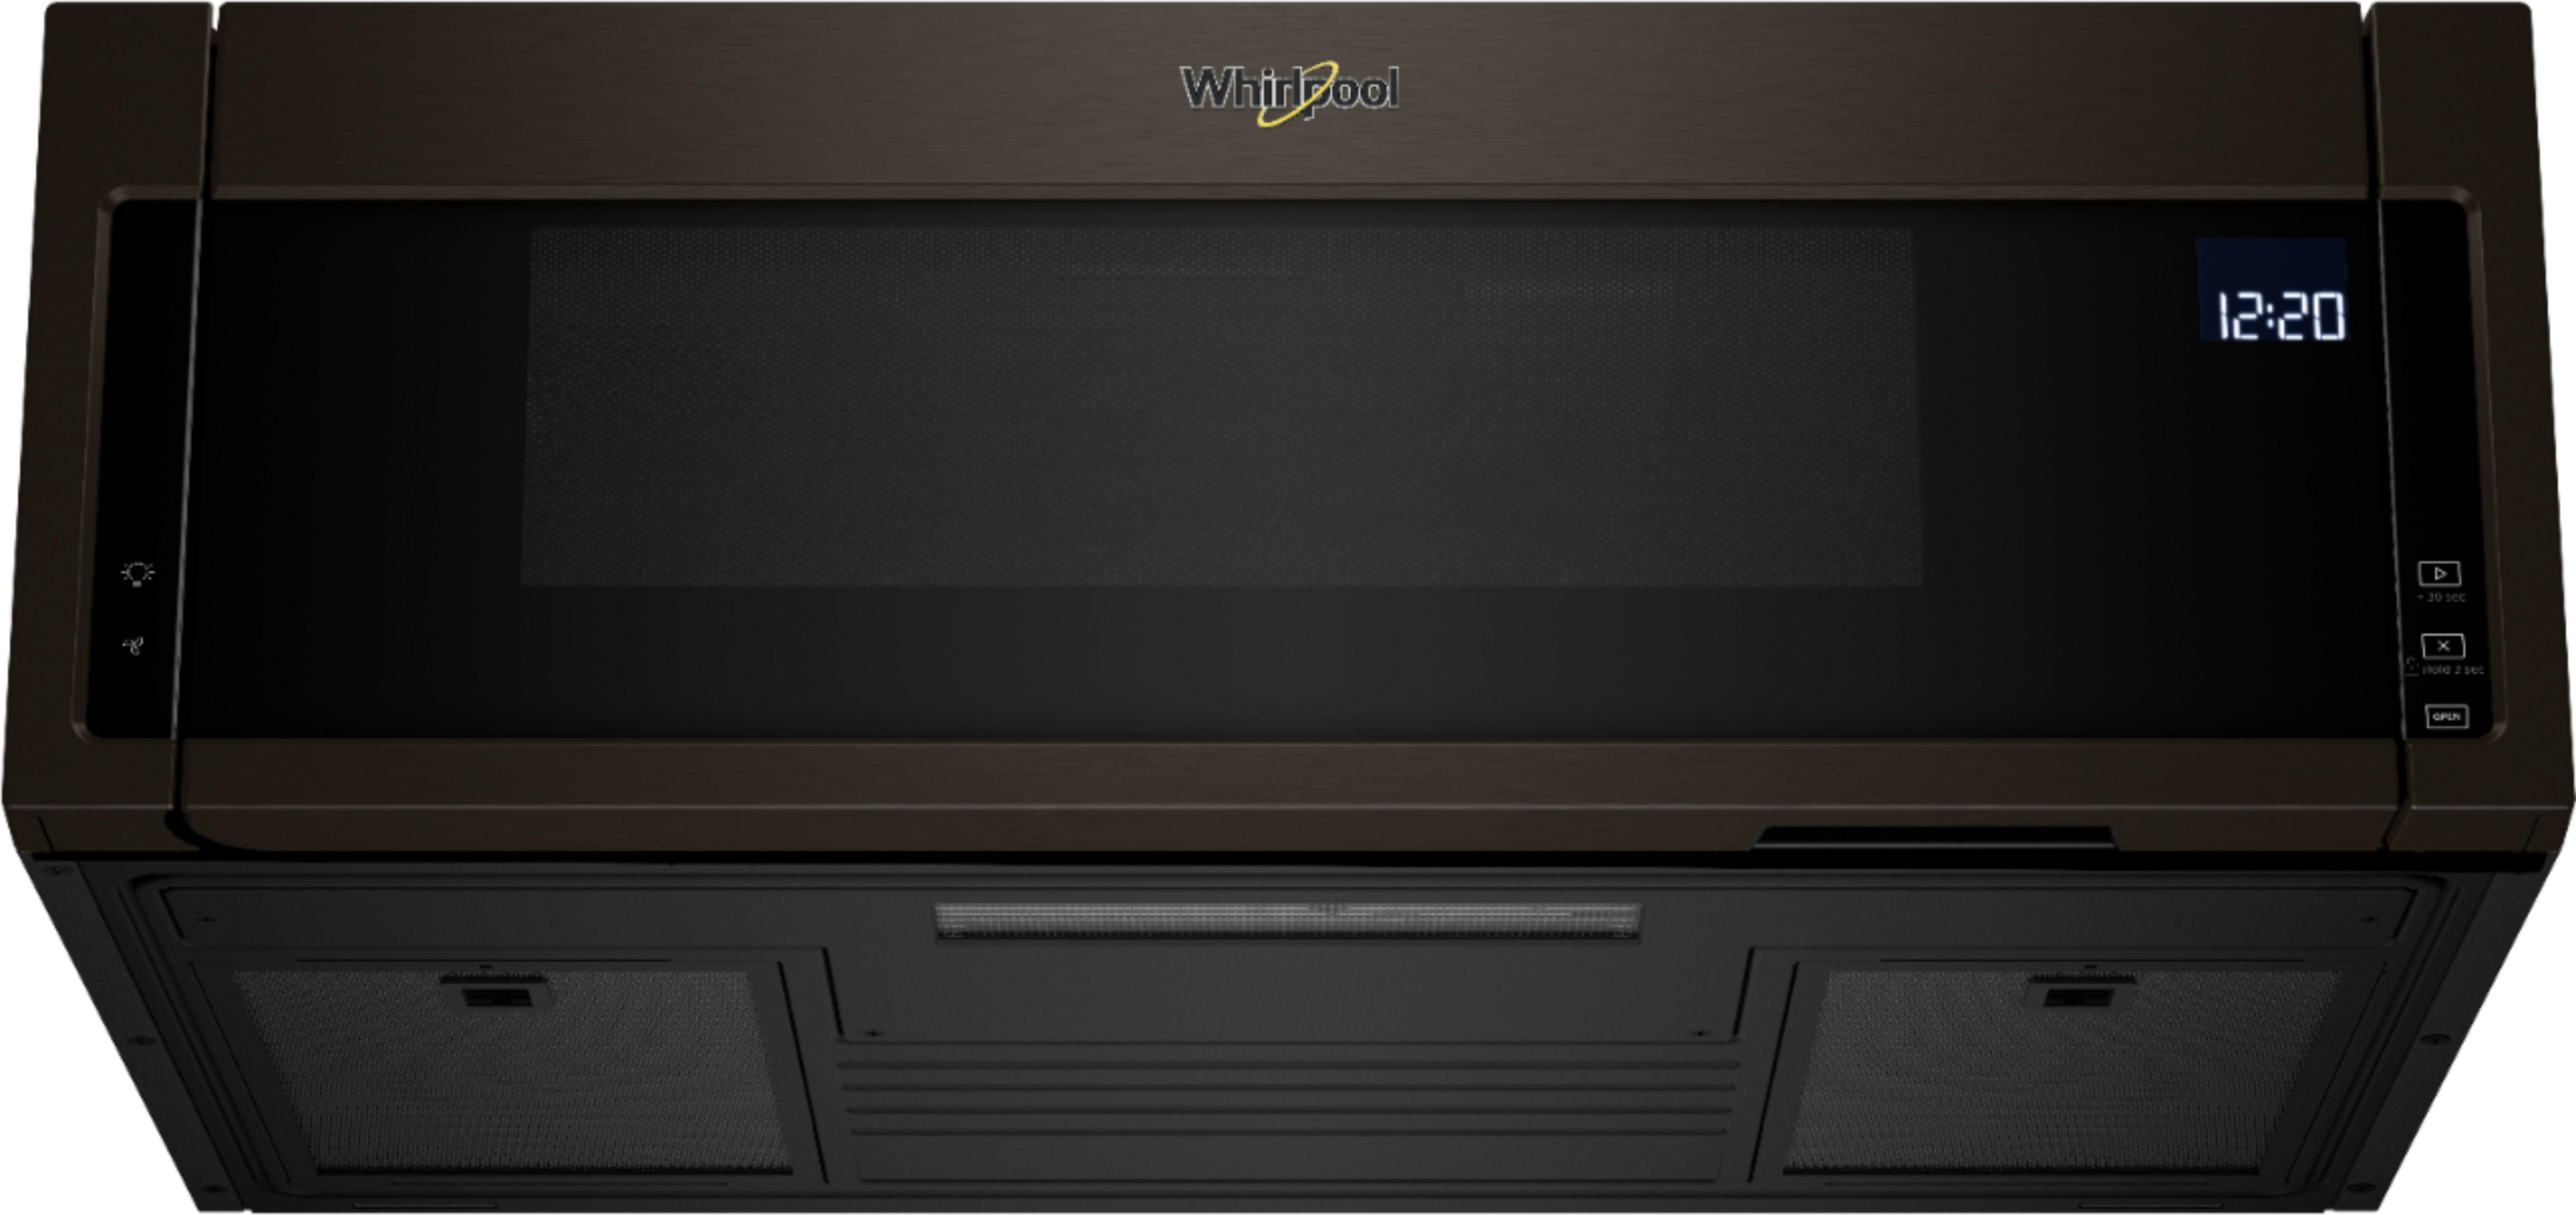
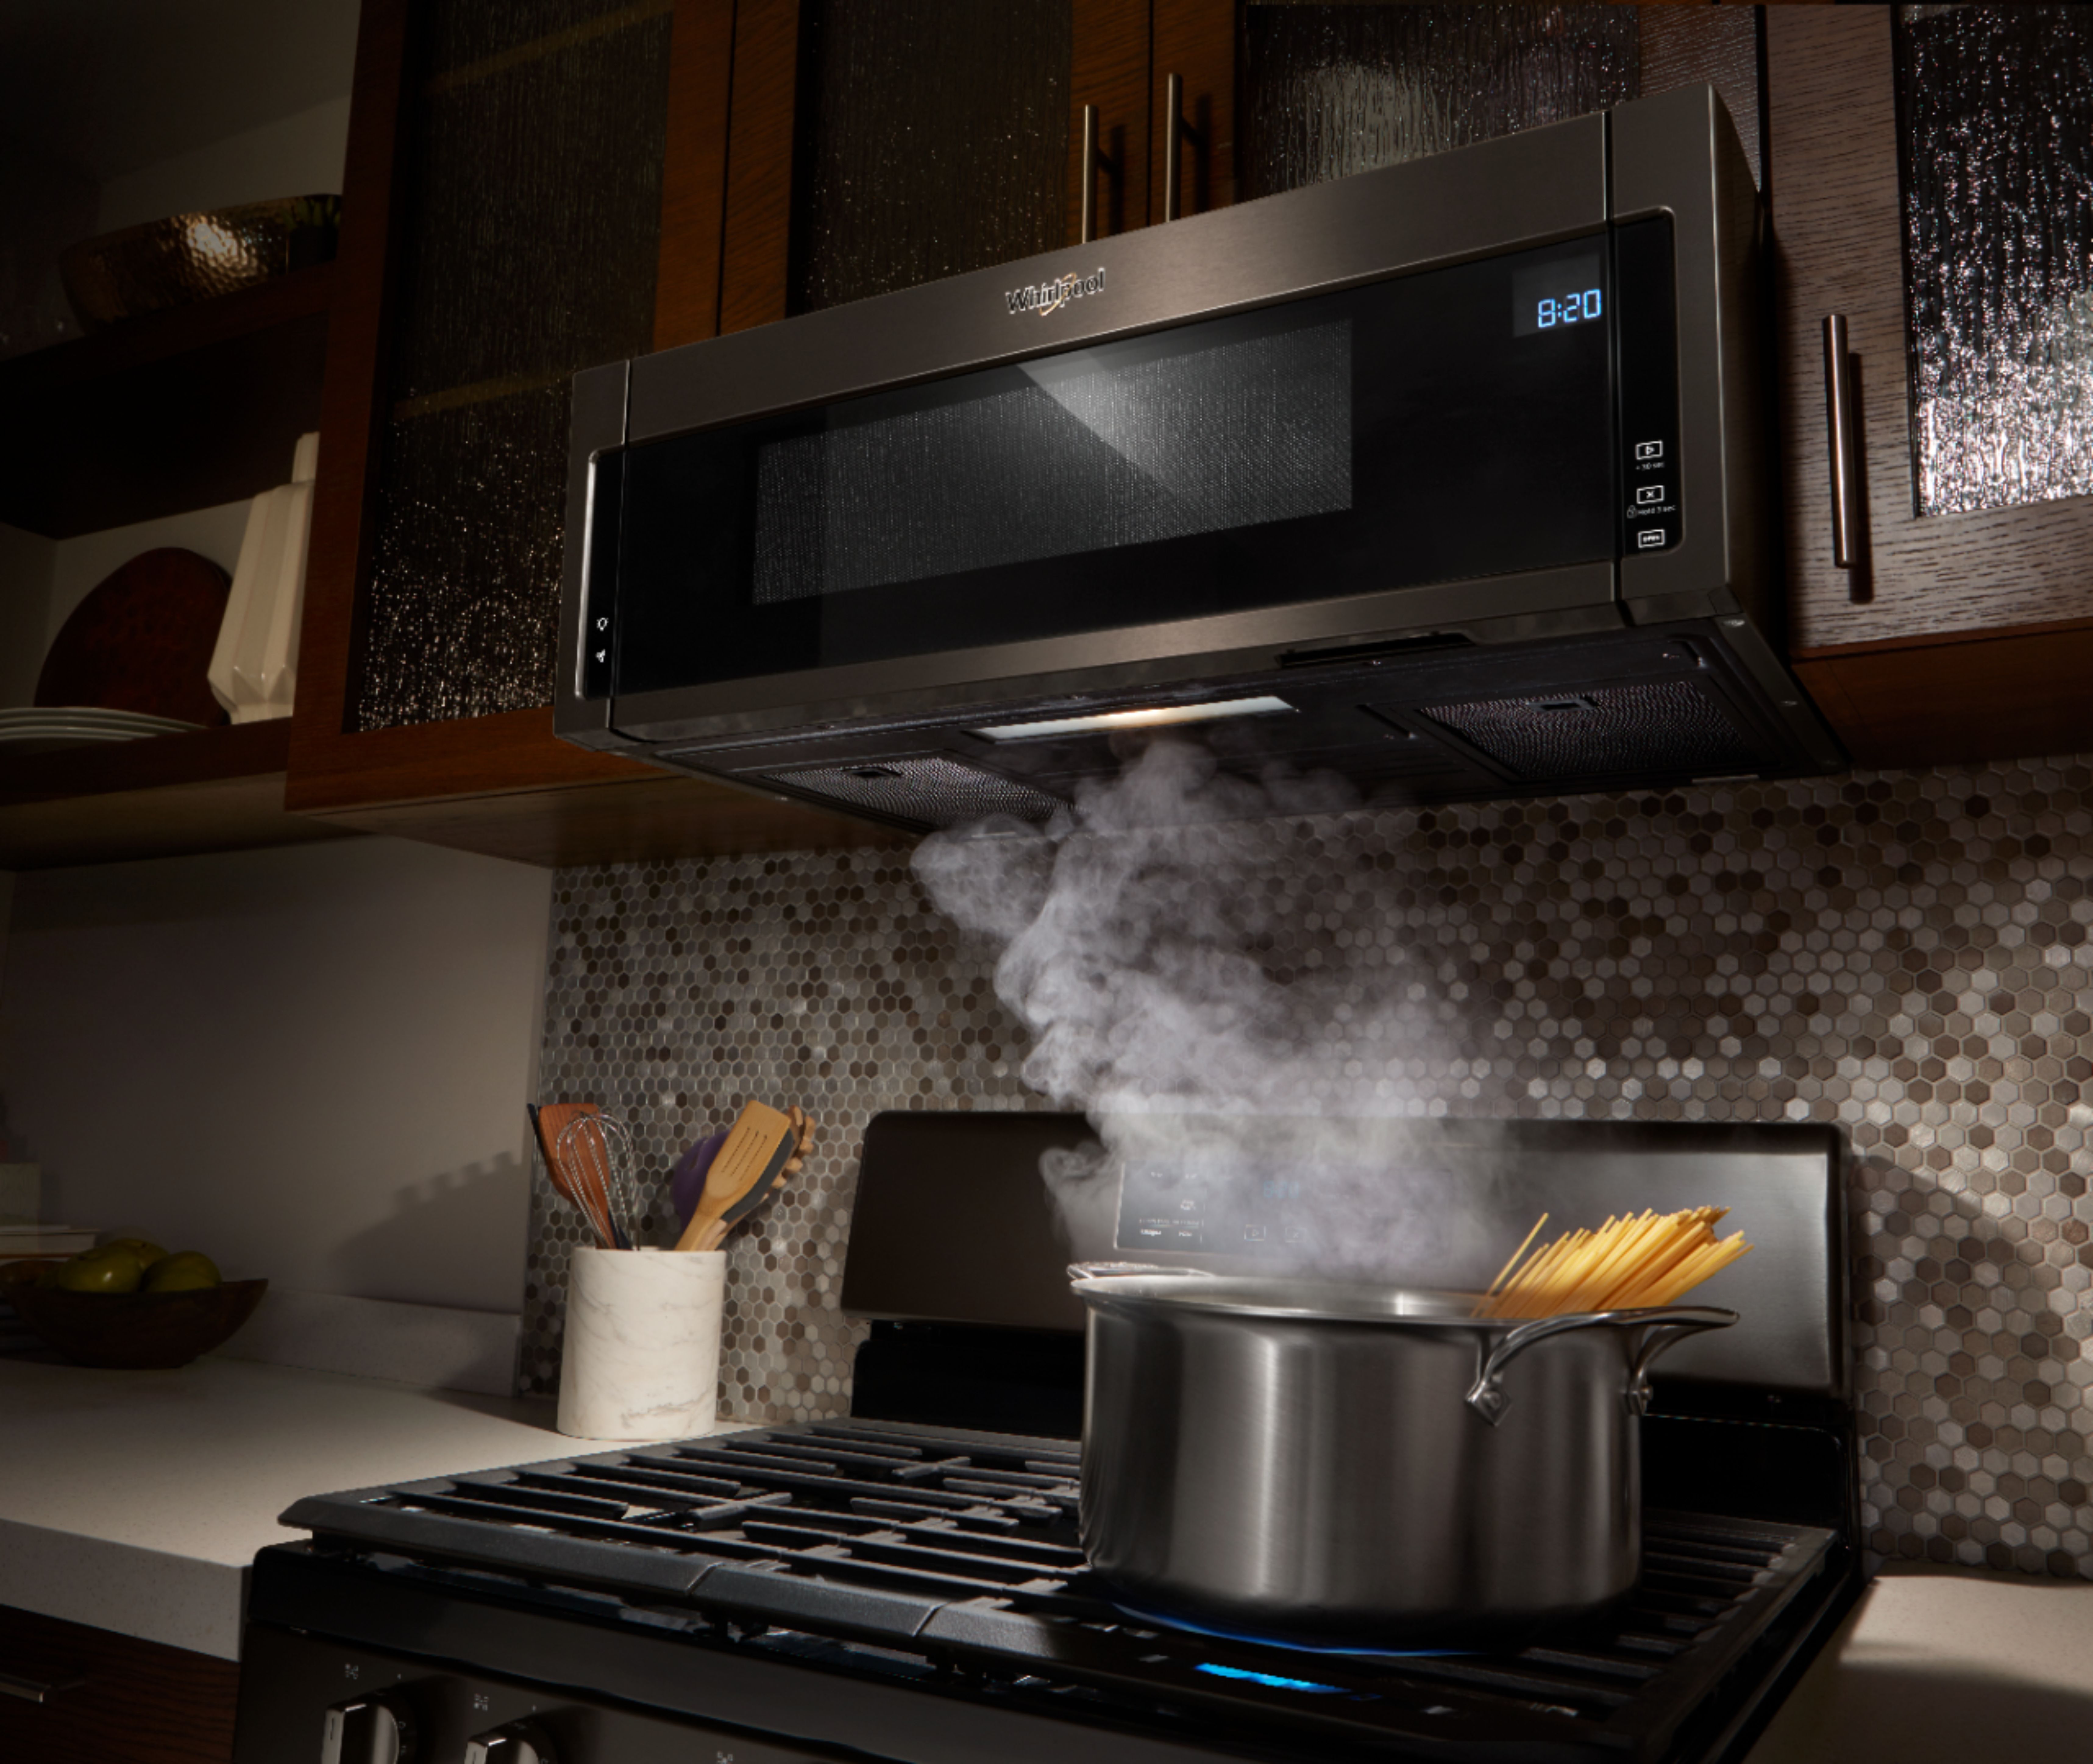
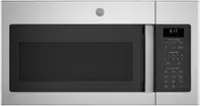
A:AnswerBrice, this Whirlpool® Microwave can be set for recirculating venting. Please visit https://bit.ly/3sRxySI for more information regarding the venting for this Whirlpool® Microwave.
A:AnswerHello Herb! We are terribly sorry to hear about your concern. We would recommend contacting Whirlpool® at 800-253-1301. We are available Monday & Tuesday 8 AM - 8 PM and Wednesday through Friday 9 AM - 7 PM. They will be better able to assist you.
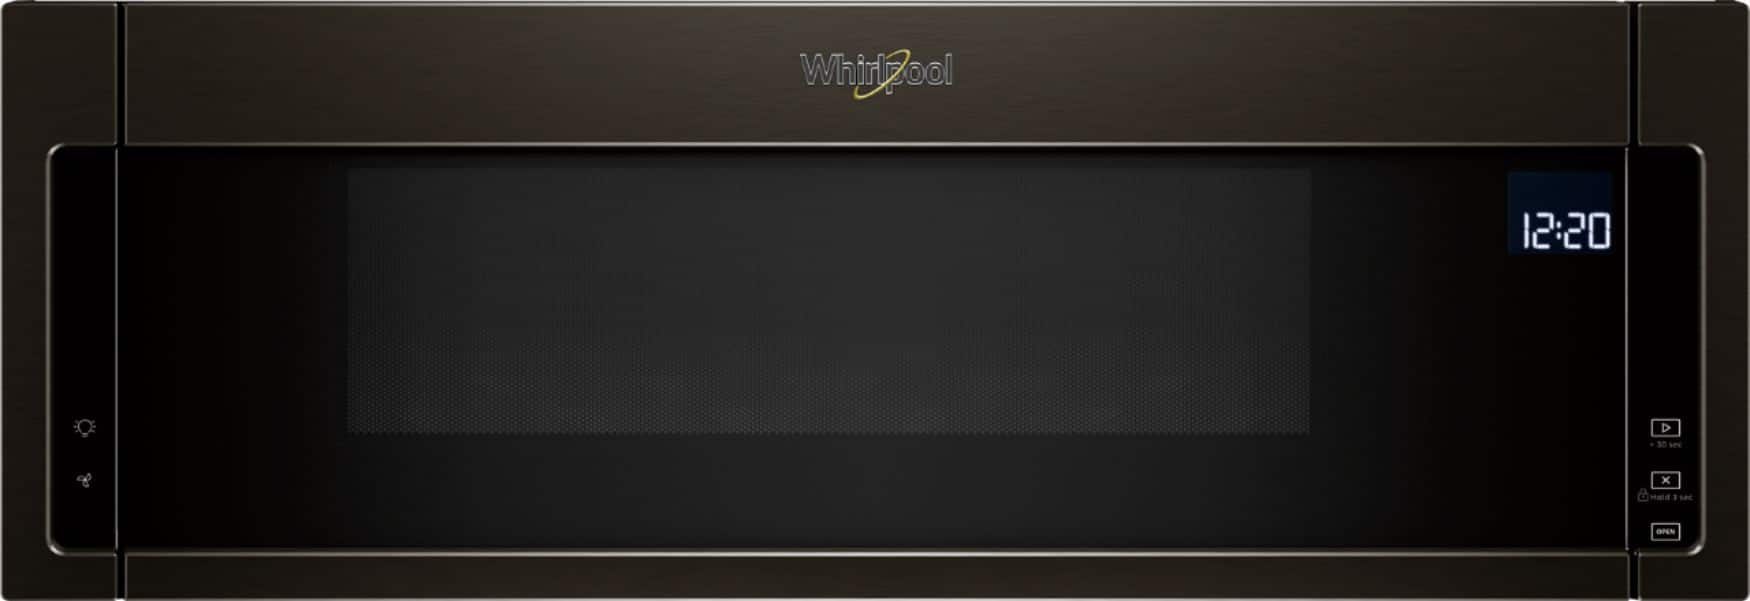
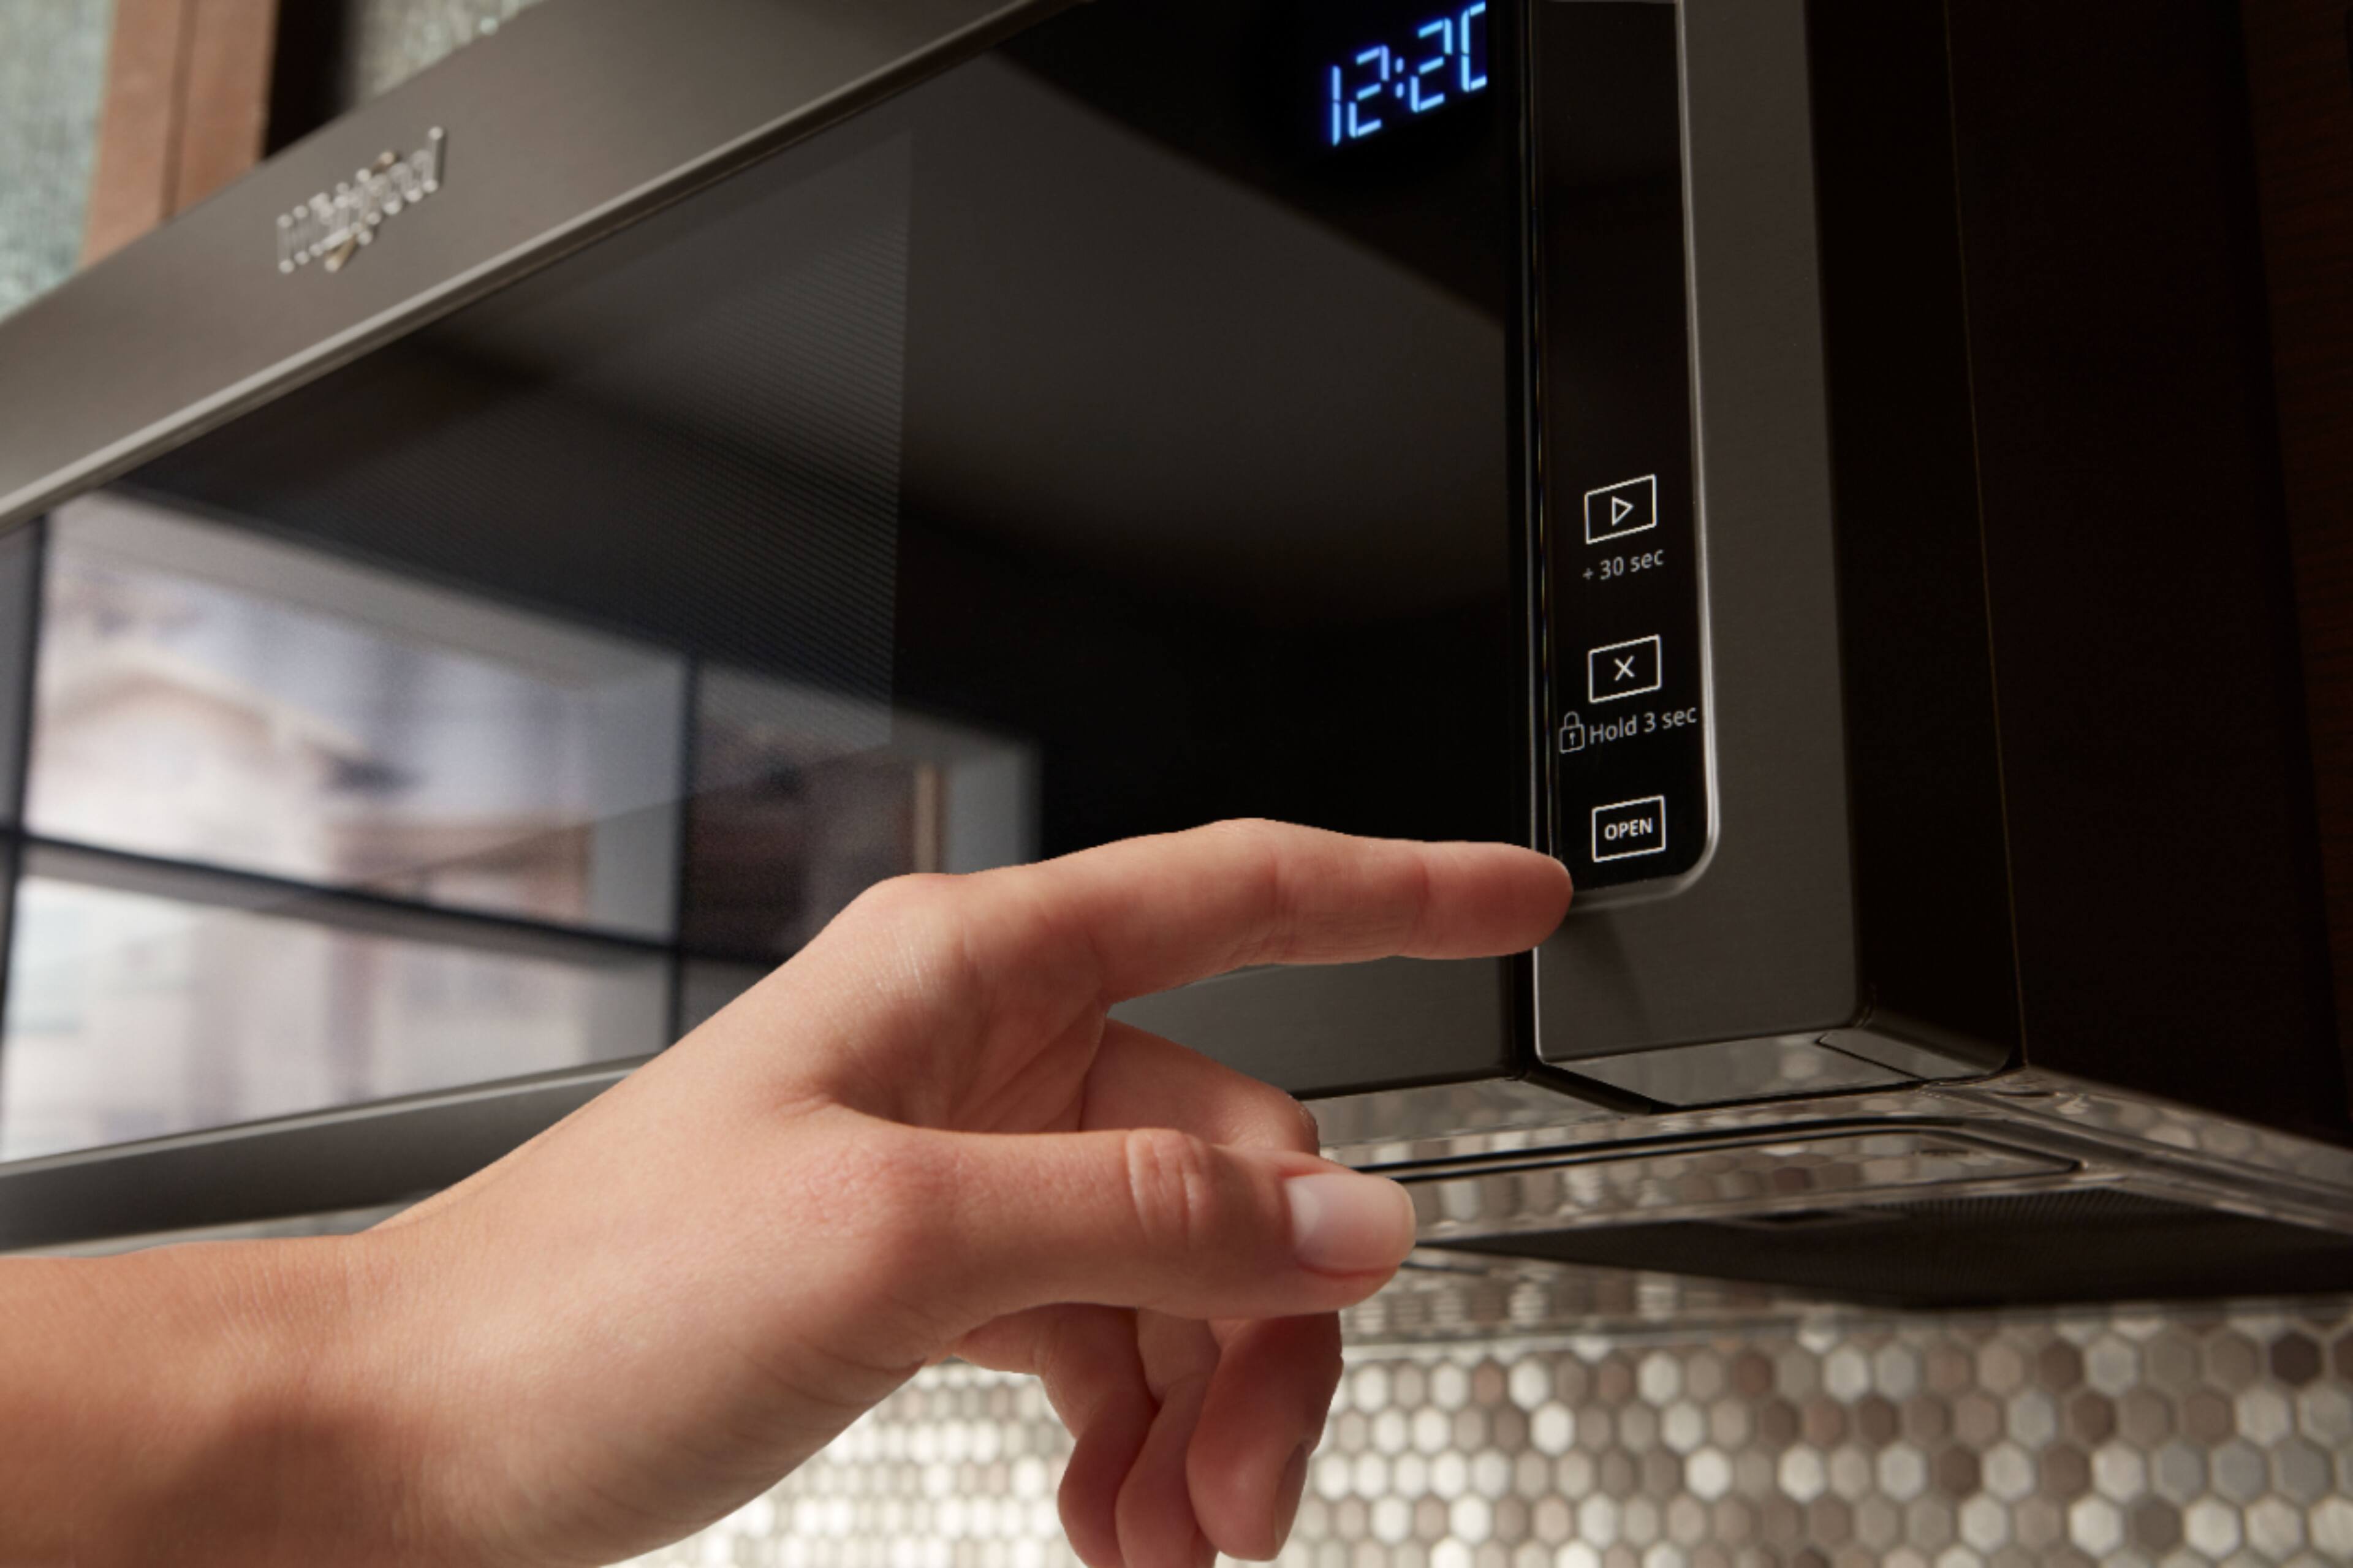
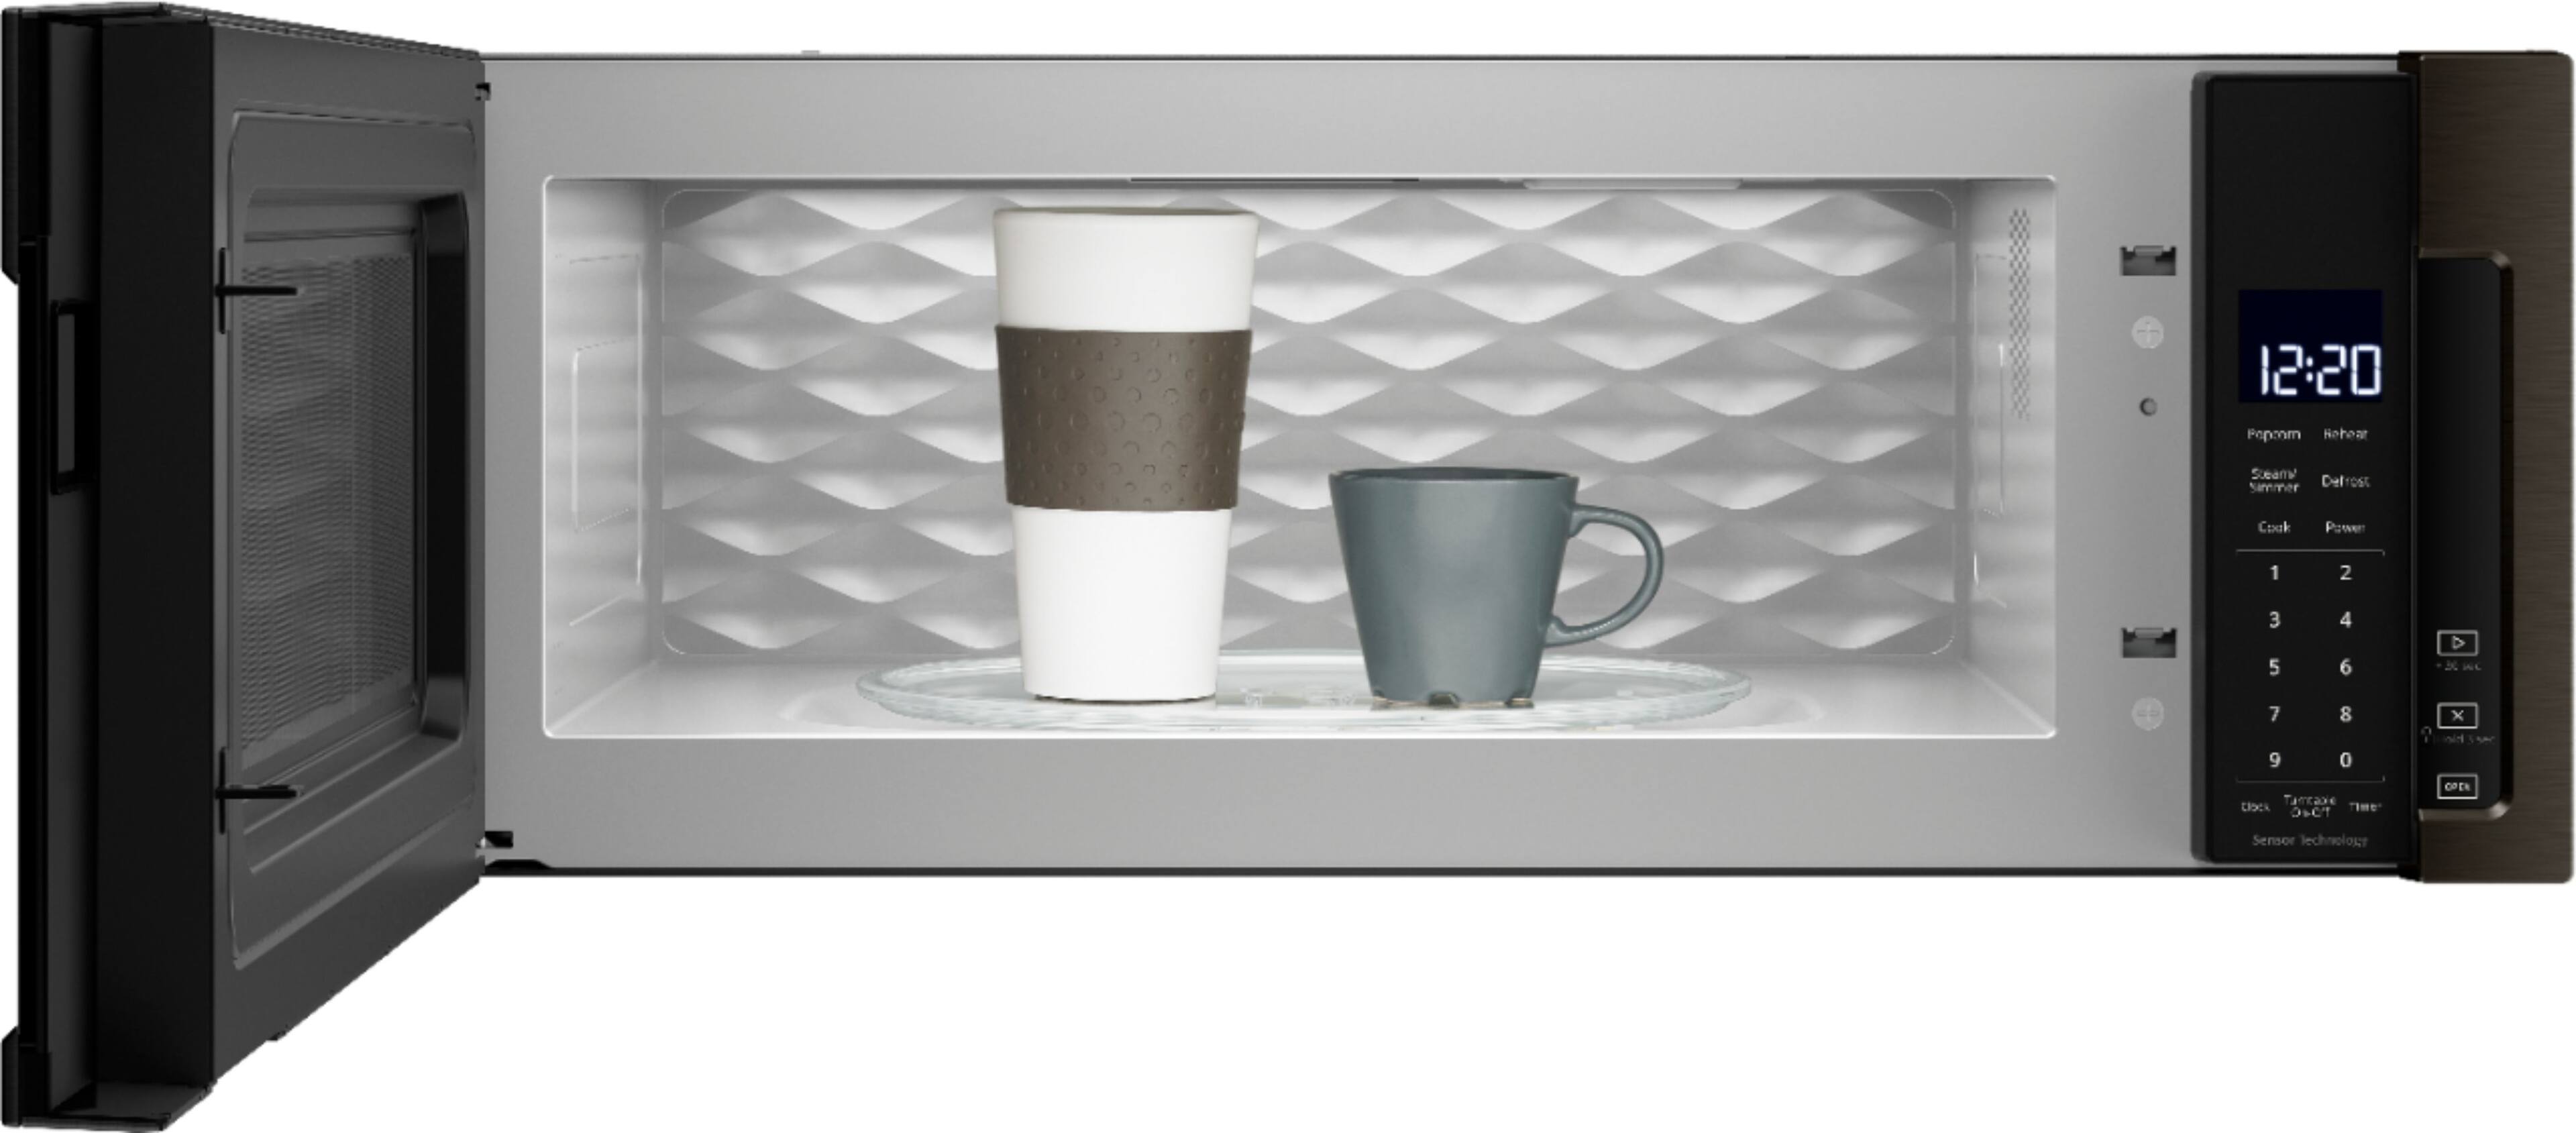
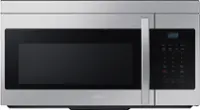
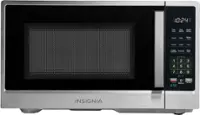
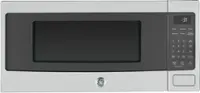
A:AnswerHello Scooter17. For Microwave model WML75011HZ, the light button is on the front of the frame. Yes you can control the light without open the door. We hope this helps!
A:AnswerHello Patricia, we are sorry to hear this. The clock is a 12-hour (12:00-11:59) clock. Touch CLOCK, enter time, then touch CLOCK or the Start control. Enter the time and then press the start button. We hope this helps.
A:AnswerHi Bob, Keypad tones and volume can be adjusted. Press CLOCK to reach
the Sound submenu.
1. Button Tones On and Off: Press 1-On 2-Off
2. Volume: Press 1-Low, 2-Med, 3-High
Pressing the Start keypad, pressing the CLOCK keypad will save.
A:AnswerHello Mlaw! We can only recommend the appliance be installed per the Installation Instructions for proper installation of the appliance. We hope this helps.